Hip Impingement Mobility Guide for Athletes: Boost Performance & Prevent Injuries

 By Shane Dowd , CES, CMP
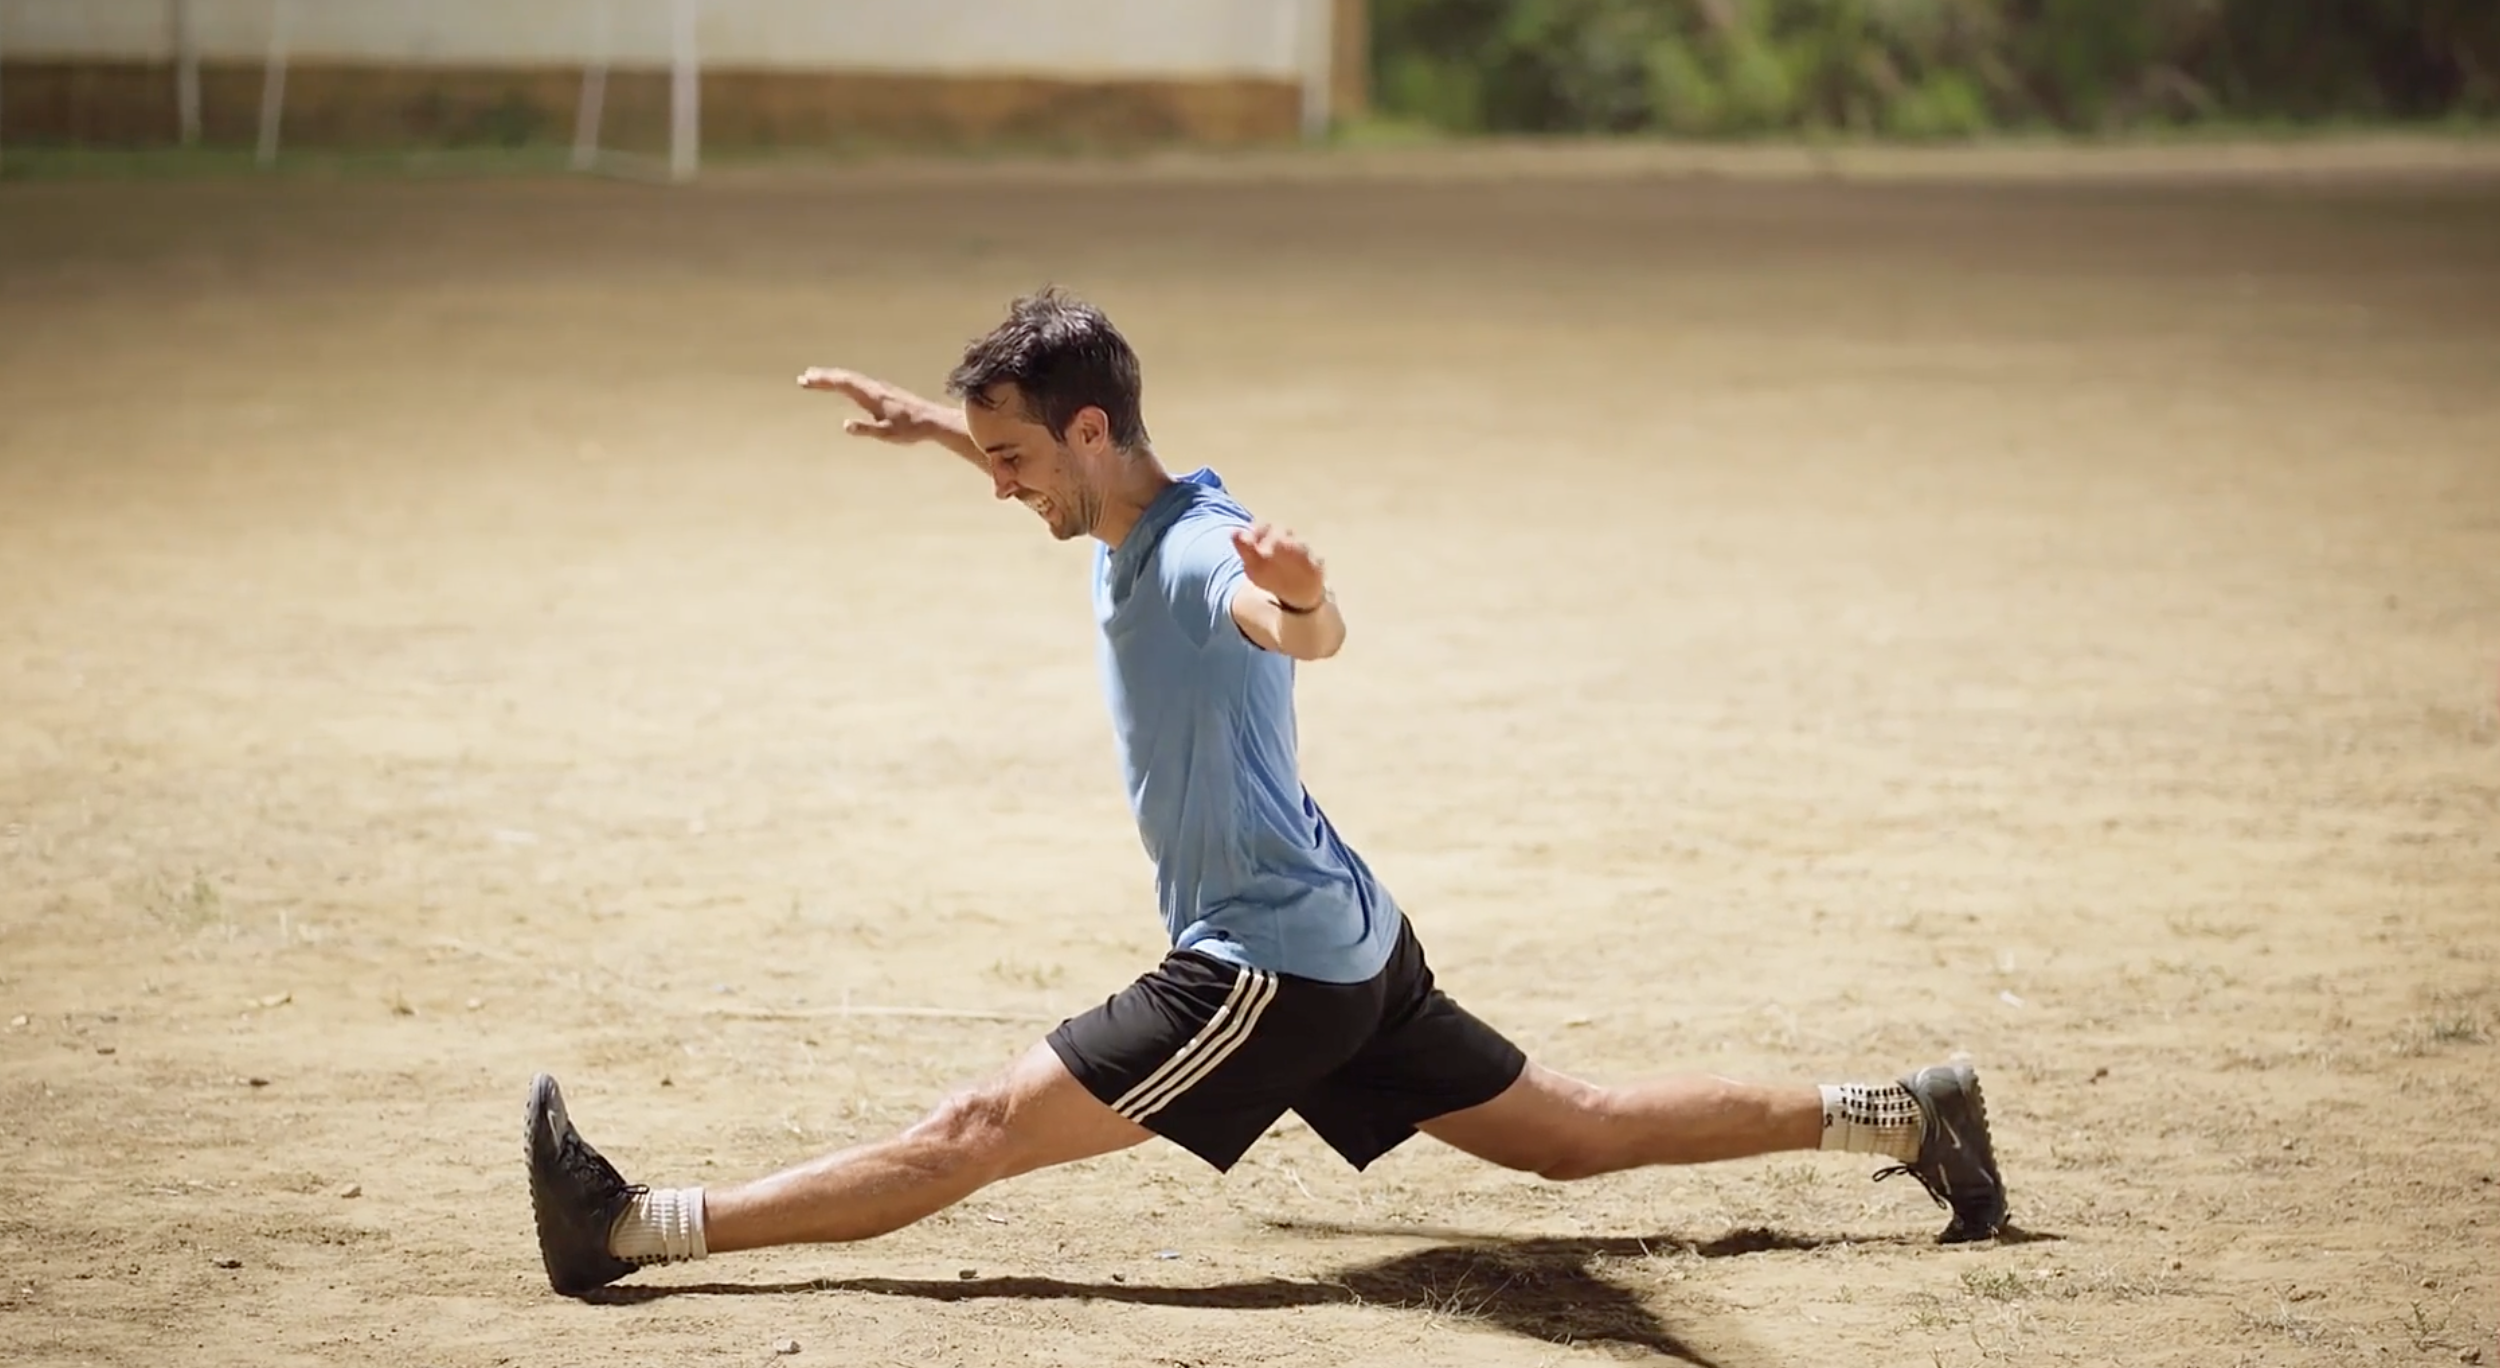
How I Prep My Hips for Sport (With FAI & a Labral Tear)
In about an hour, I’m heading out to play frisbee—aka sprinting, cutting, jumping, and diving like my life depends on it. There’s no room for stiff, unprepared hips.
With FAI and a labral tear, I can’t just show up cold and hope for the best. A quick 10–15 minute routine is the difference between moving freely and paying for it later.
Here’s the exact routine I use to get my hips and spine ready to play.
Why I Don’t Skip Hip Prep
If you’ve got FAI, hip impingement, or a labral tear, you probably know this feeling:
Your hips get tight fast. Deep positions feel restricted. Certain angles cause pinching.
So instead of forcing my way through that stiffness during sport, I loosen everything up first so I can:
- Move more freely
- Get into better positions
- Reduce the chance of flaring things up
This isn’t my whole warm-up—I still do active drills after this—but it’s the tissue prep that lets my hips move the way I want them to.
Step 1: Hit the Hamstring–Adductor Junction
I start with a big mobility ball at that “hidden” spot where the hamstrings and adductors meet up near the groin.
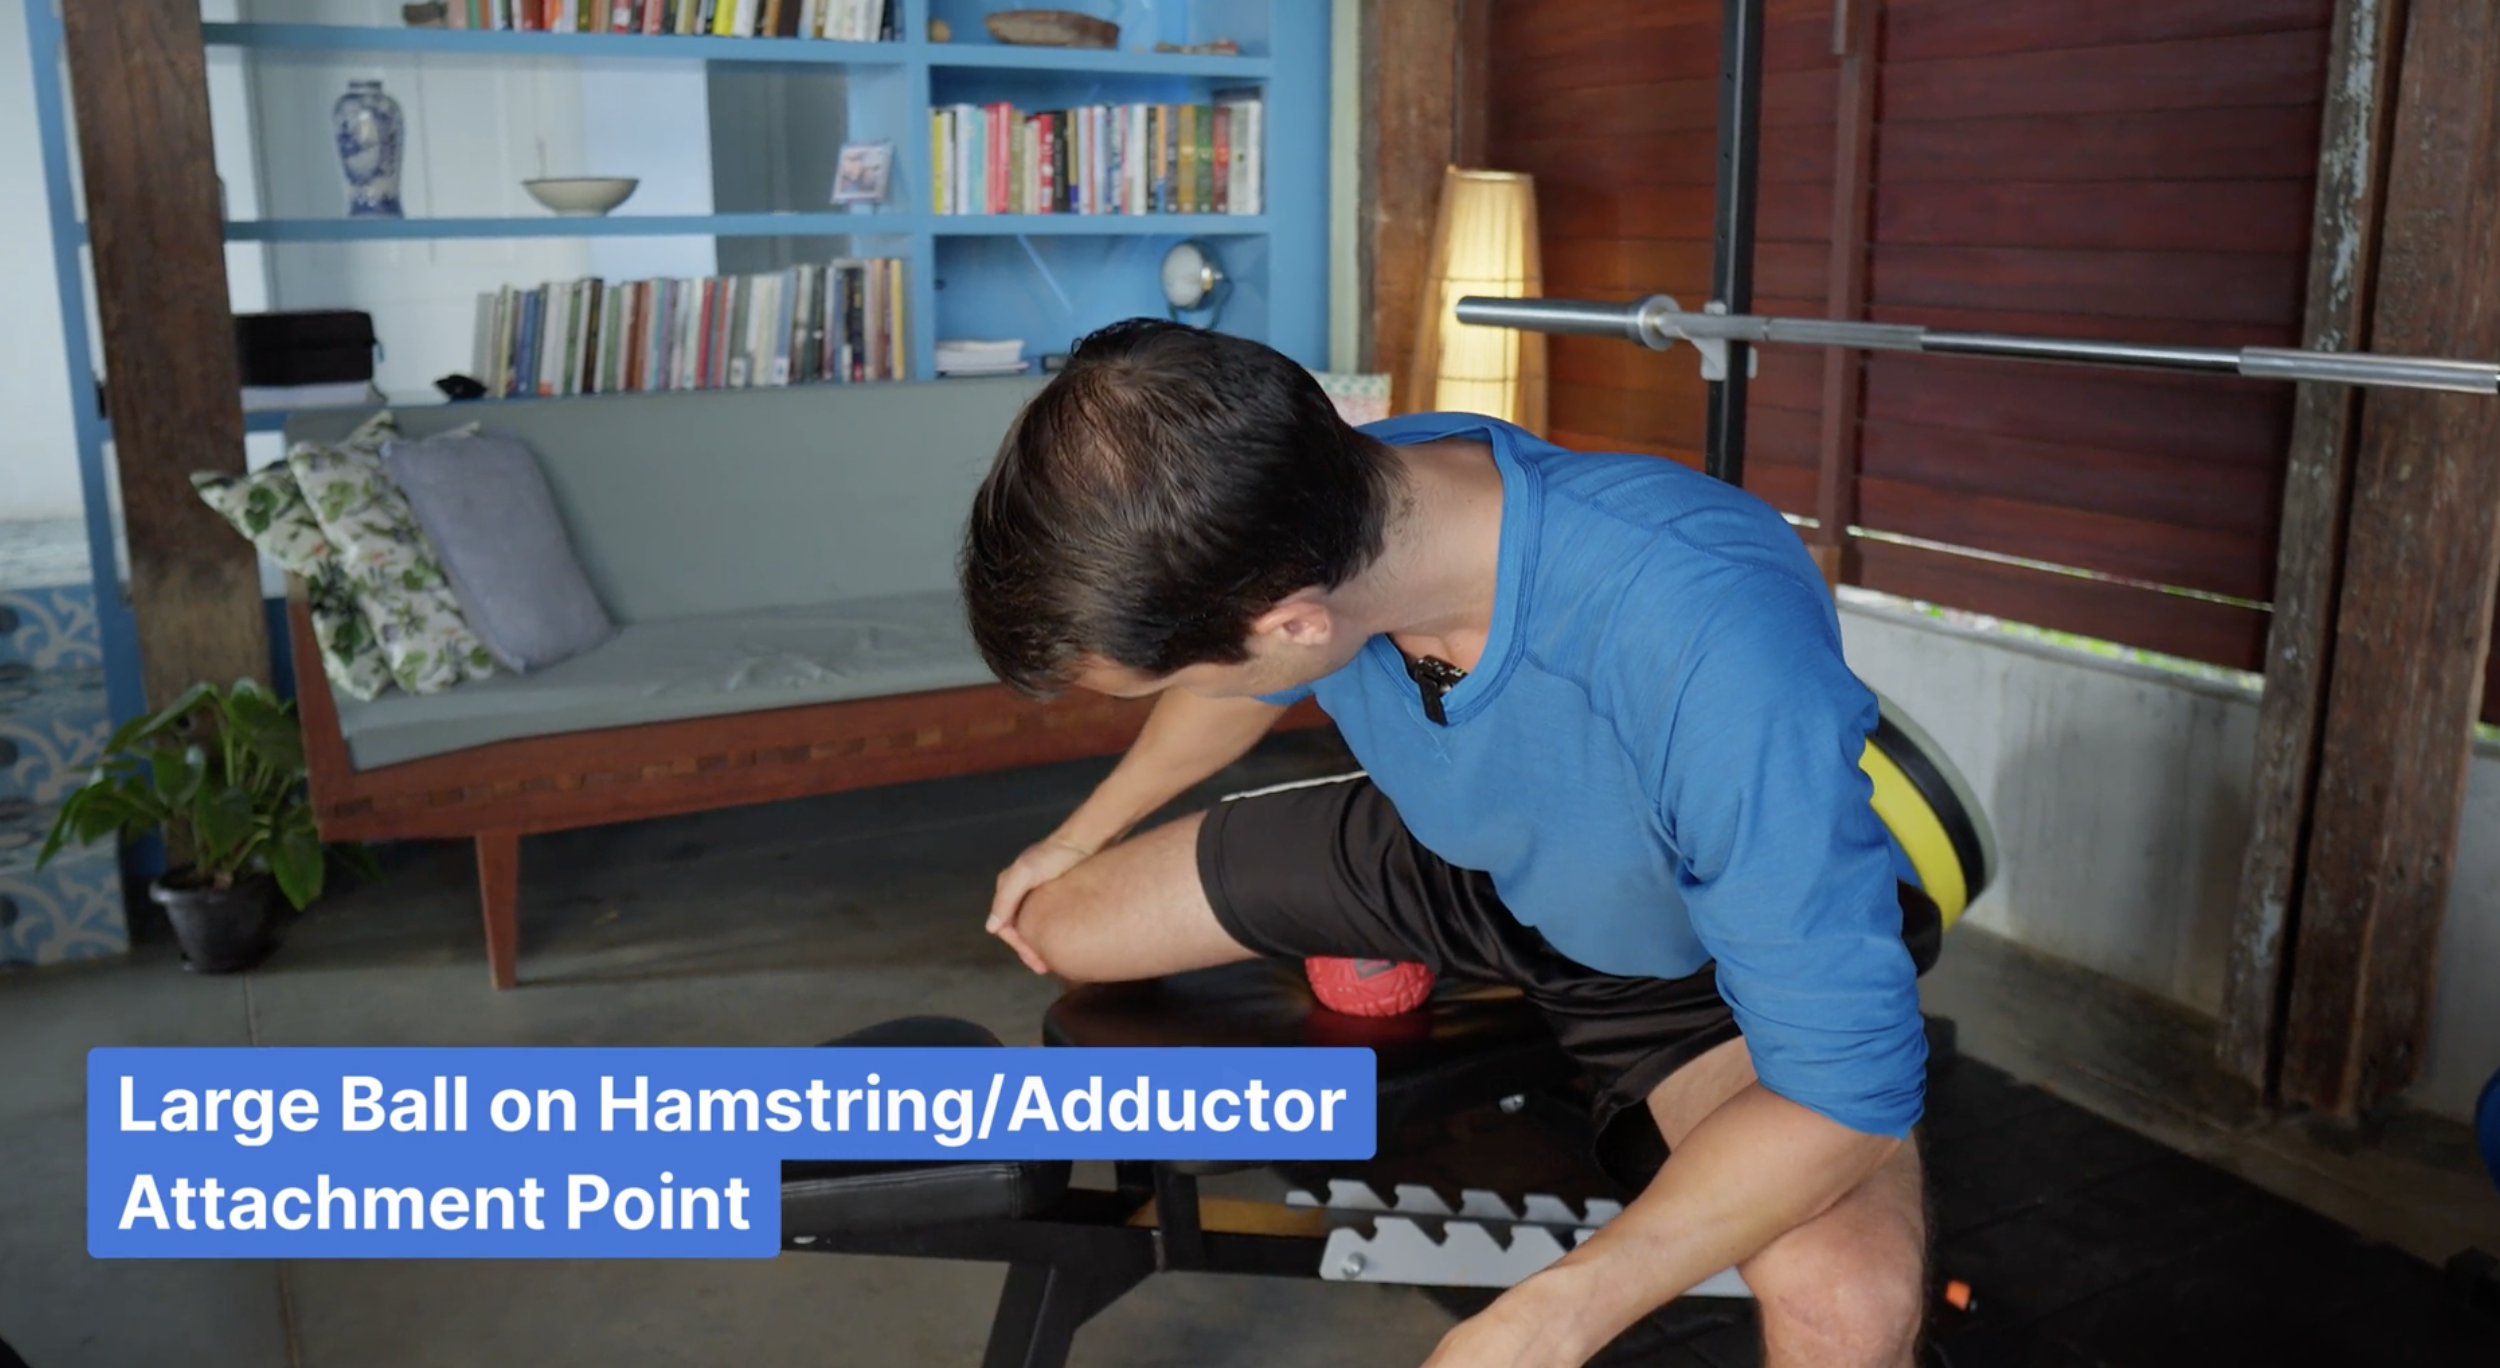
- I stand in a wide stance, stable base.
- I angle into the ball at about 45° (not straight on).
- I gently swing my foot and rotate the femur to find tight, dense spots.
This area gets super gunky for people with FAI, and most people never work it directly. It’s one of my secret weapons.
Step 2: Barbell on the High Quad
Next, I lay a barbell across the top of my thigh to hit the high quad attachment.
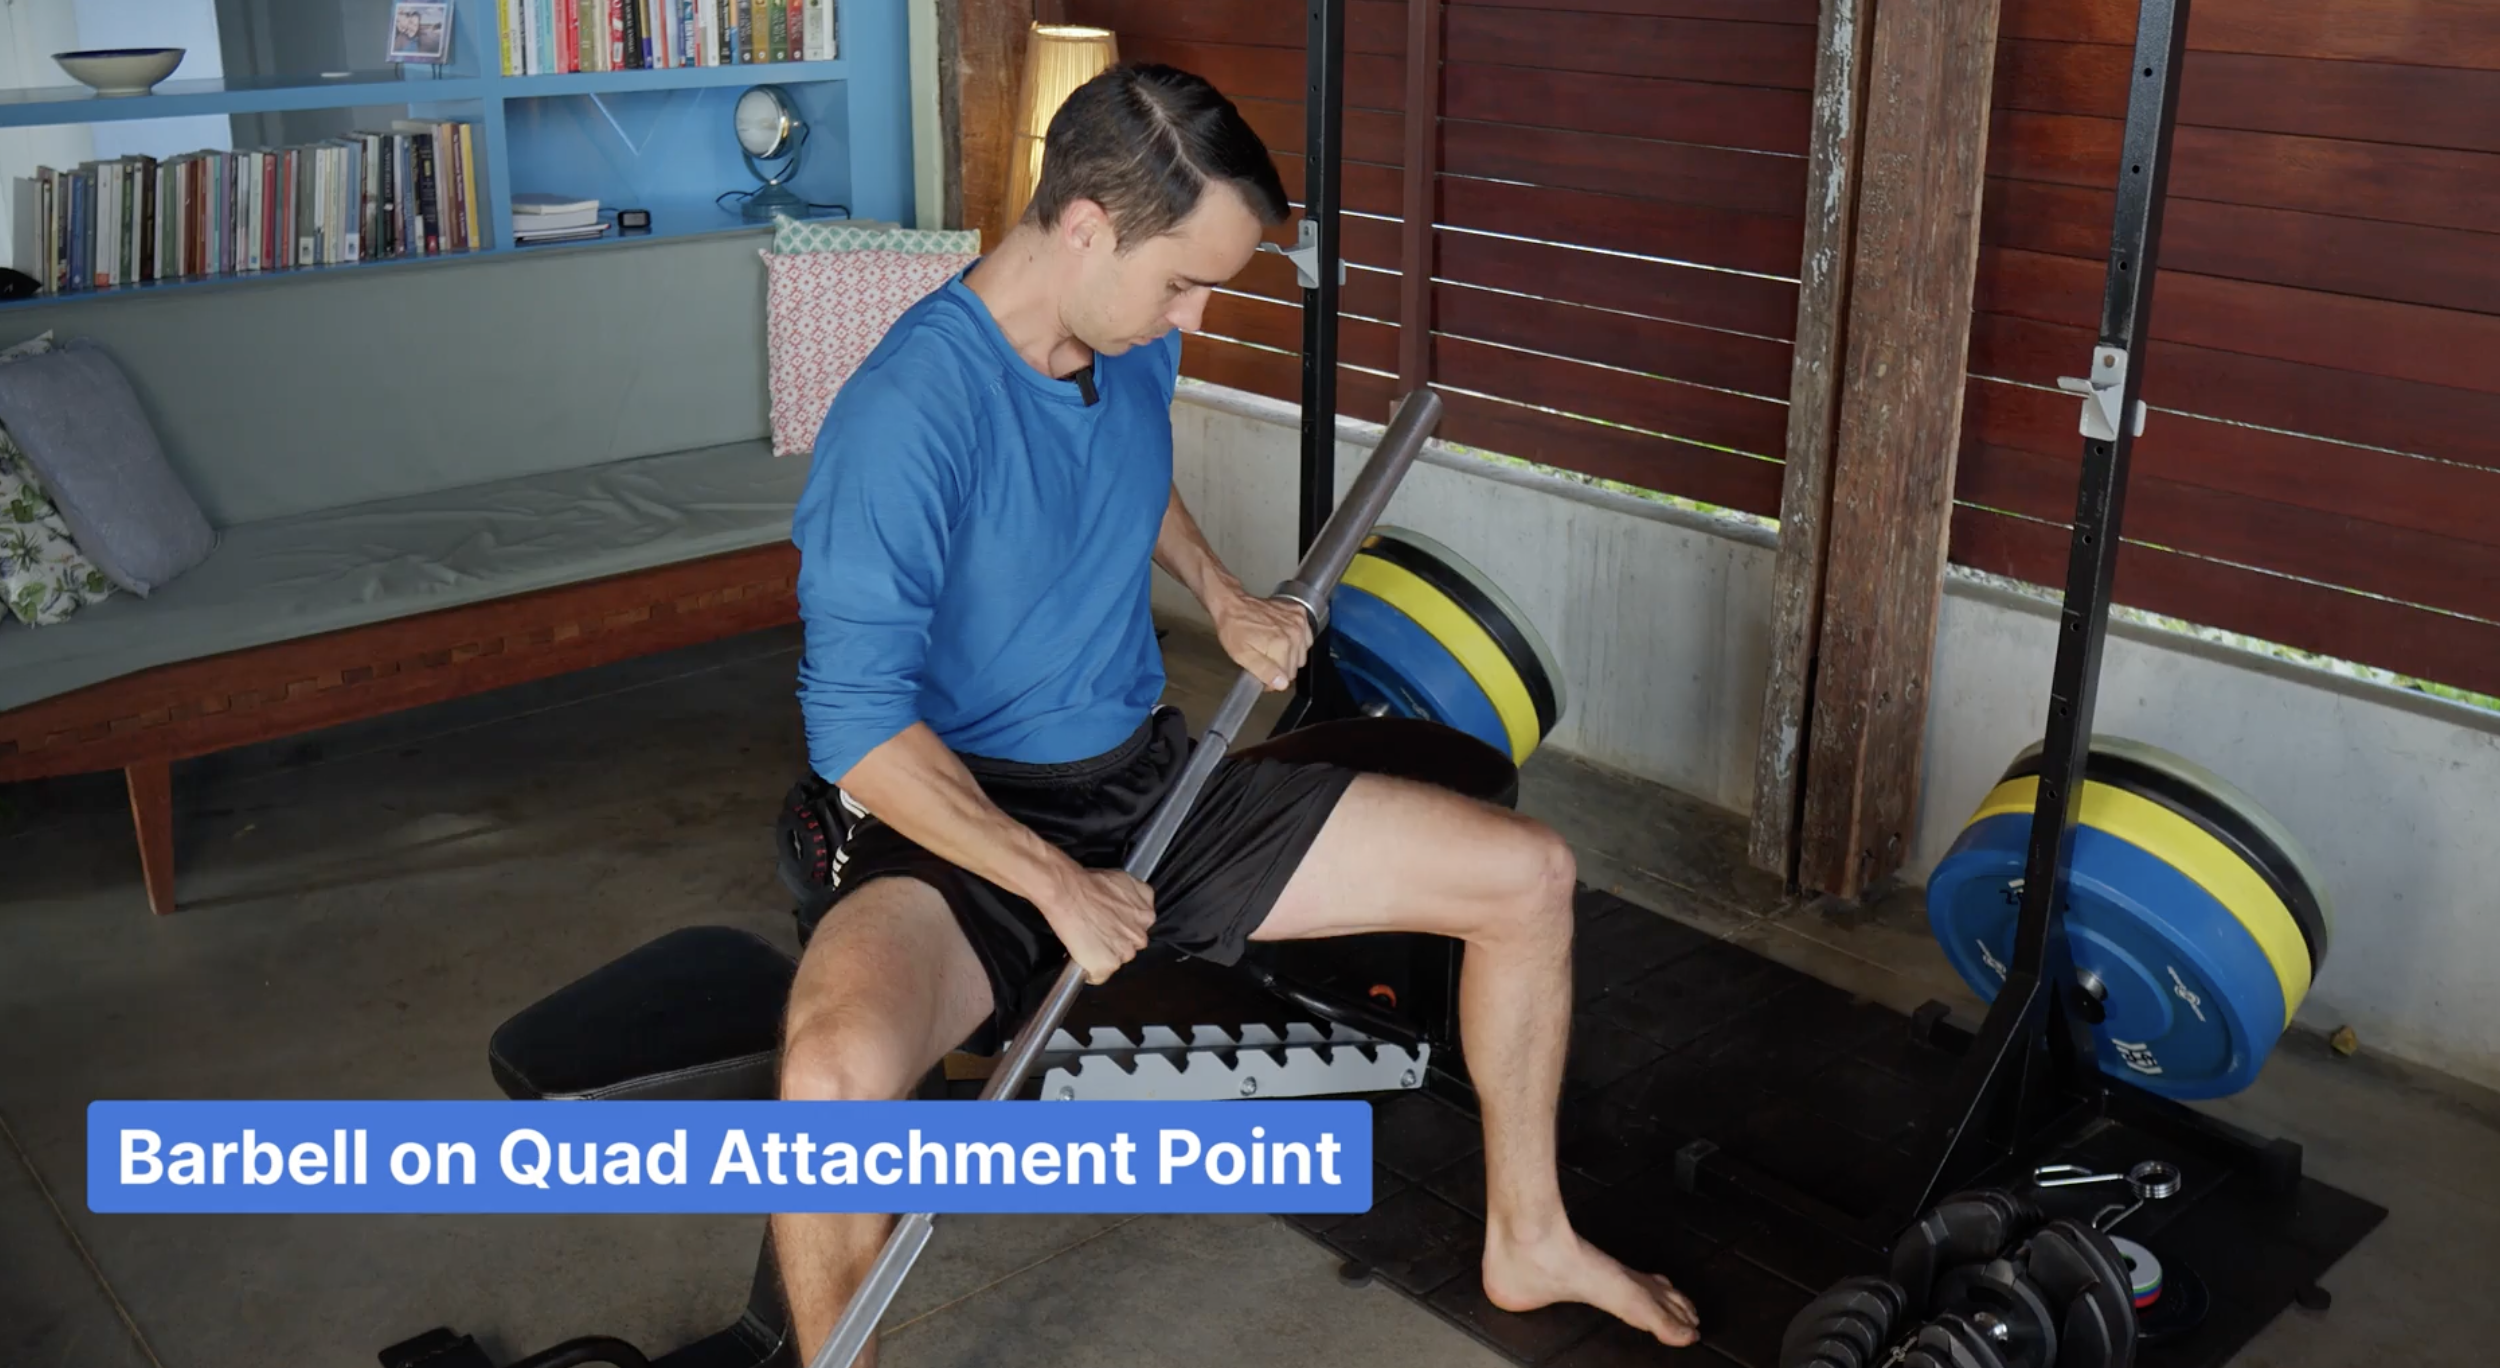
Foam rolling is okay, but this gets much deeper.
- I move my pelvis a bit (tuck/untuck) to change the angle.
- I rotate my leg to hunt for tight areas.
- I press into the barbell if I want more pressure, or lift it if it’s too much.
This really helps free up hip extension for running and sprinting.
Step 3: Barbell in the Rack for Hamstring–Adductor
Then I rack the bar at about knee or thigh height and press that same hamstring–adductor spot into it from standing.
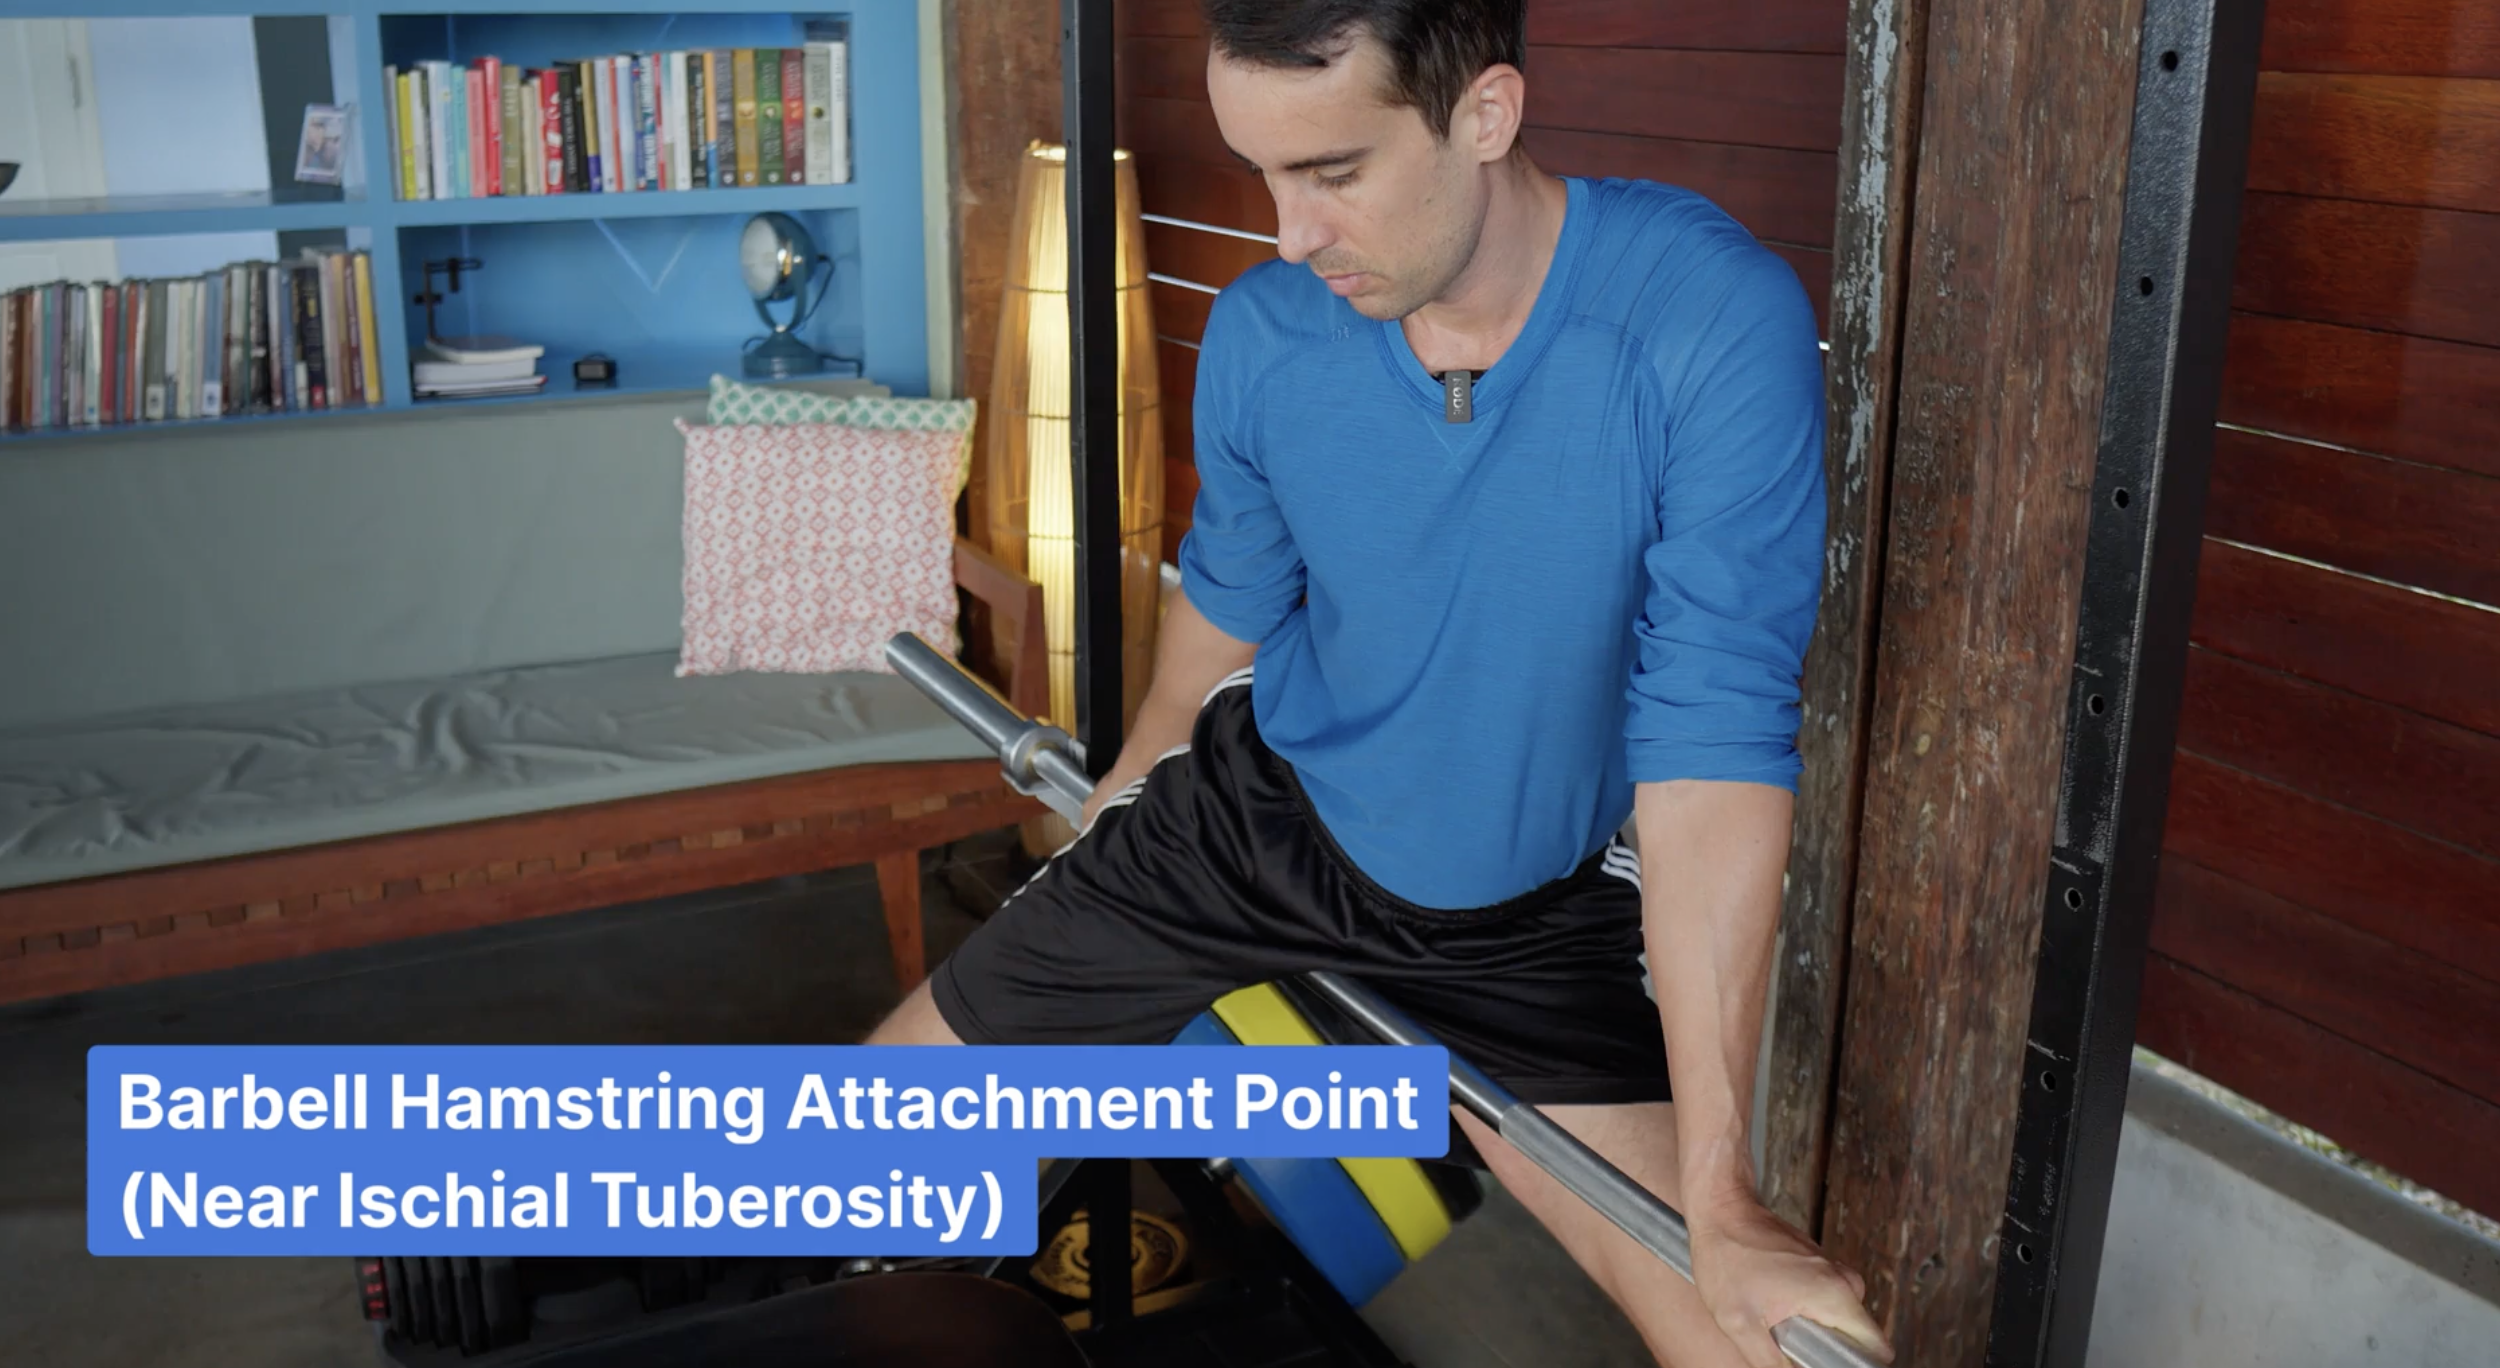
Sometimes I hook my foot around the rack post to put my hip into a bit of internal rotation. Little details like that change everything when you’re dealing with FAI.
This is great before squats, deadlifts, or any sport that demands hip flexion.
Step 4: Lateral Leg + Lateral Hip Work
Now I go to the floor:
Quick roll on the outside of the leg (quad/IT band interface).
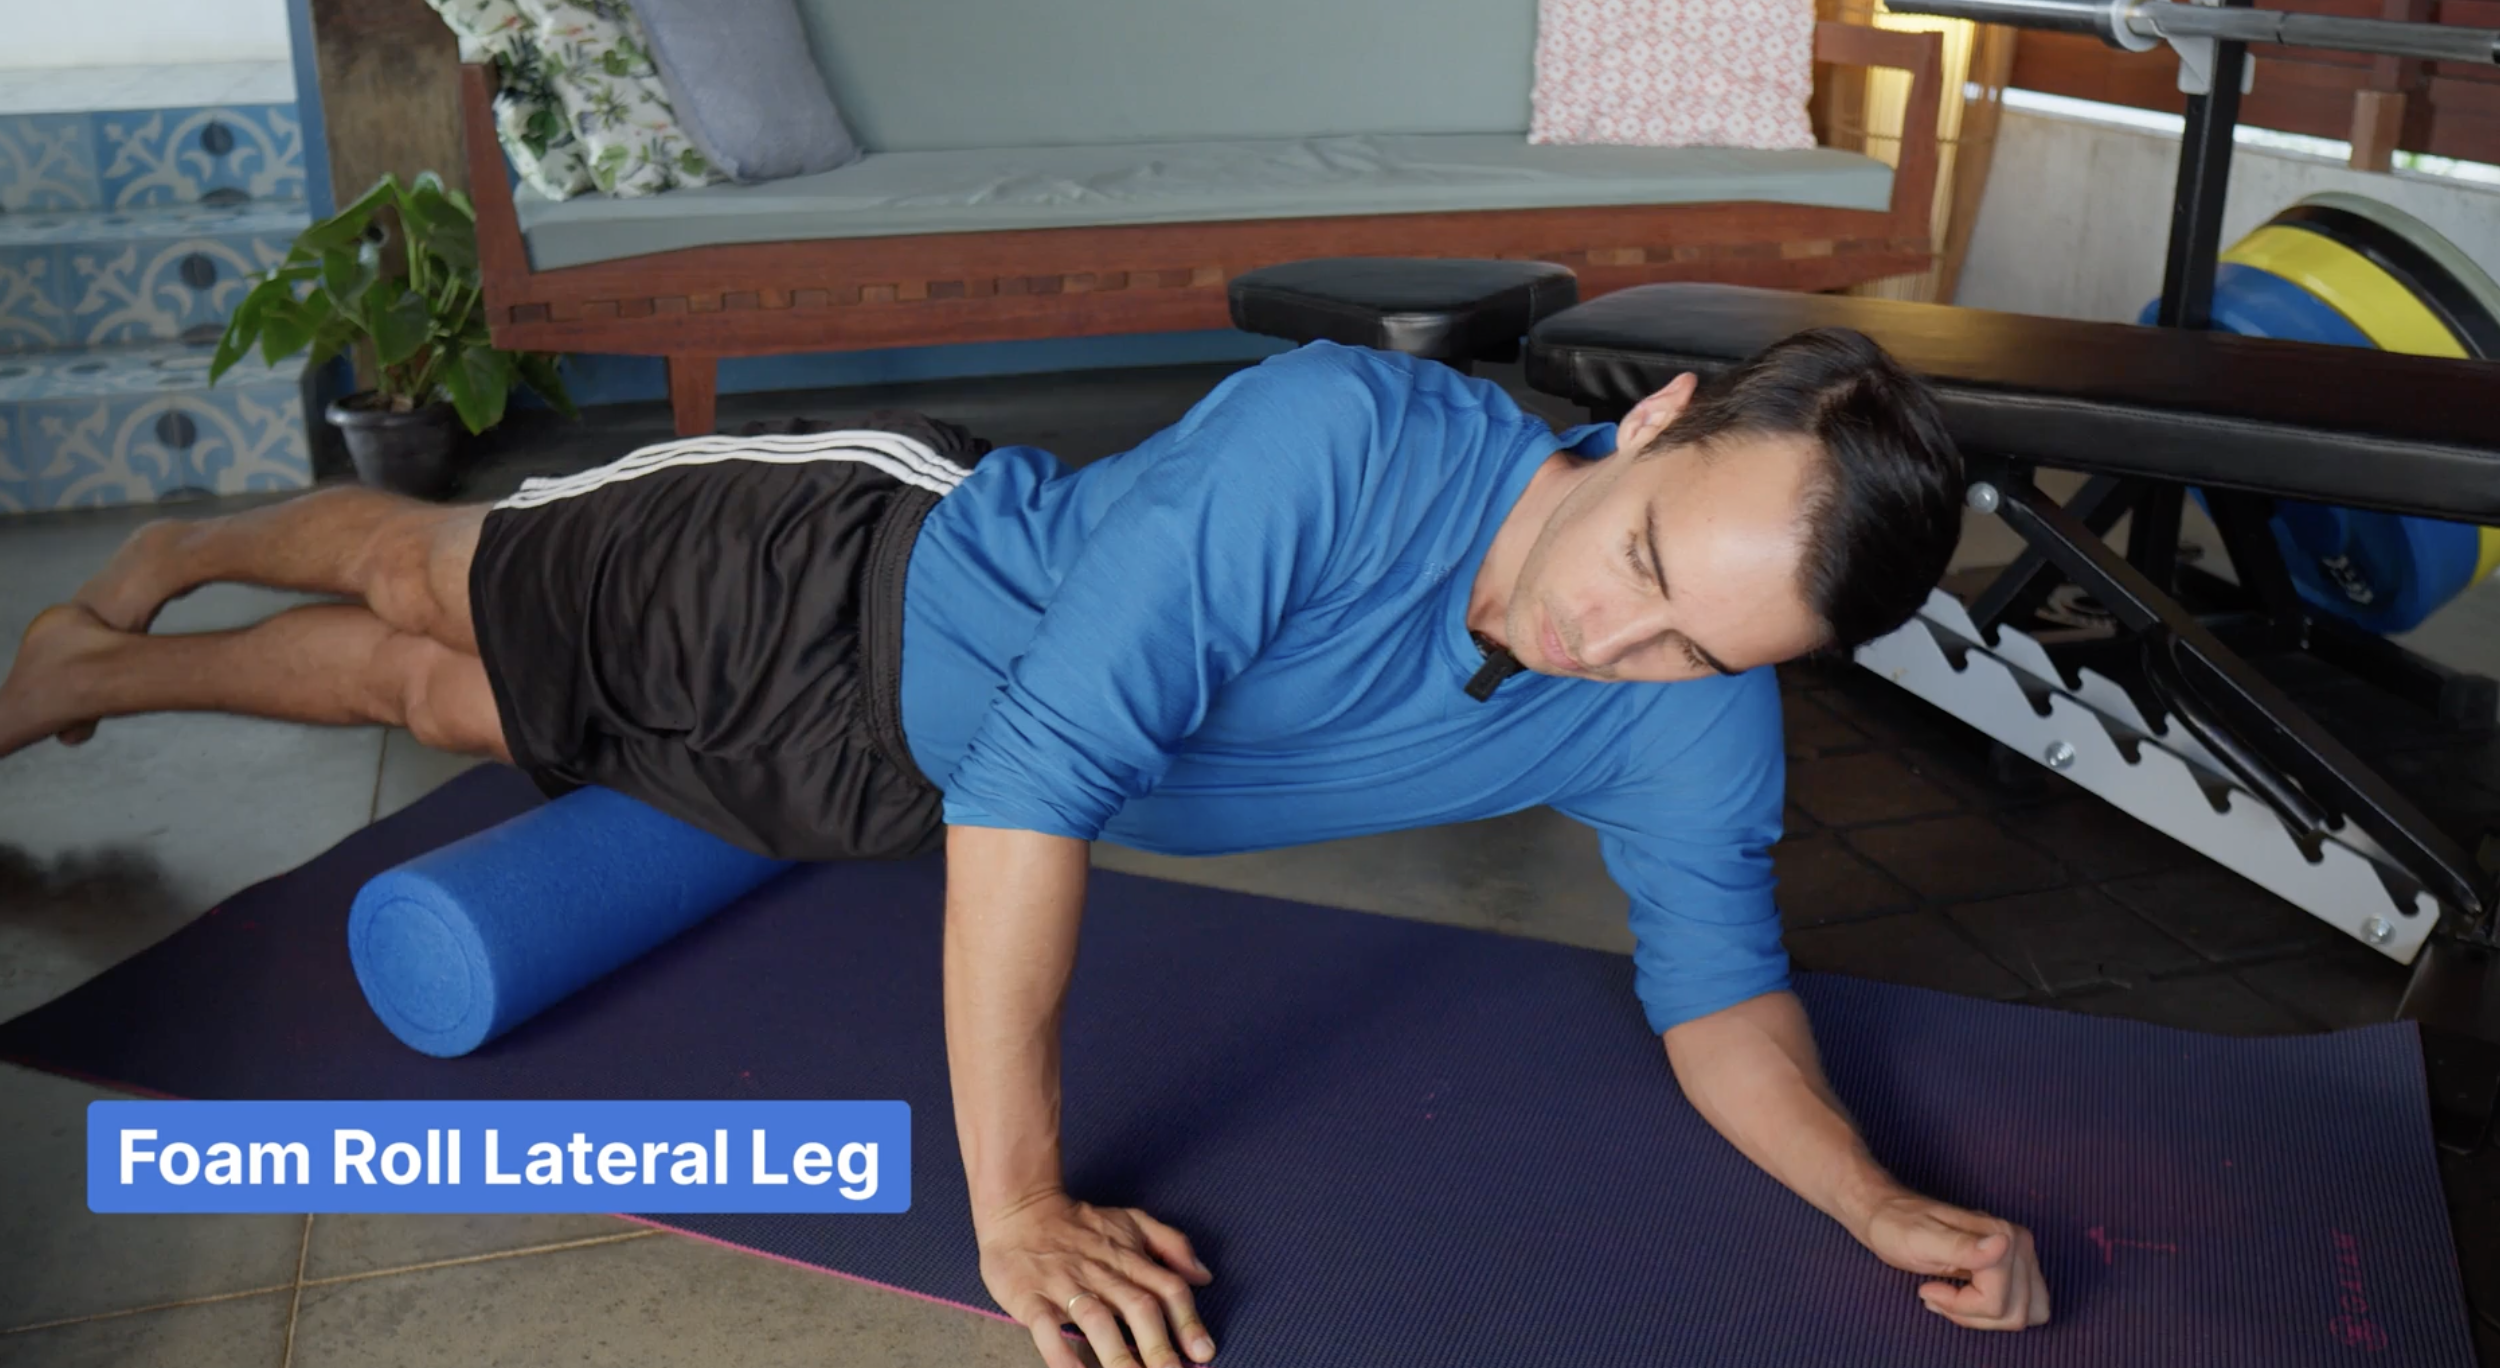
Then a large ball into the side of the hip and glutes. Sometimes I prop my knee up on a foam roller so the muscles can relax more.
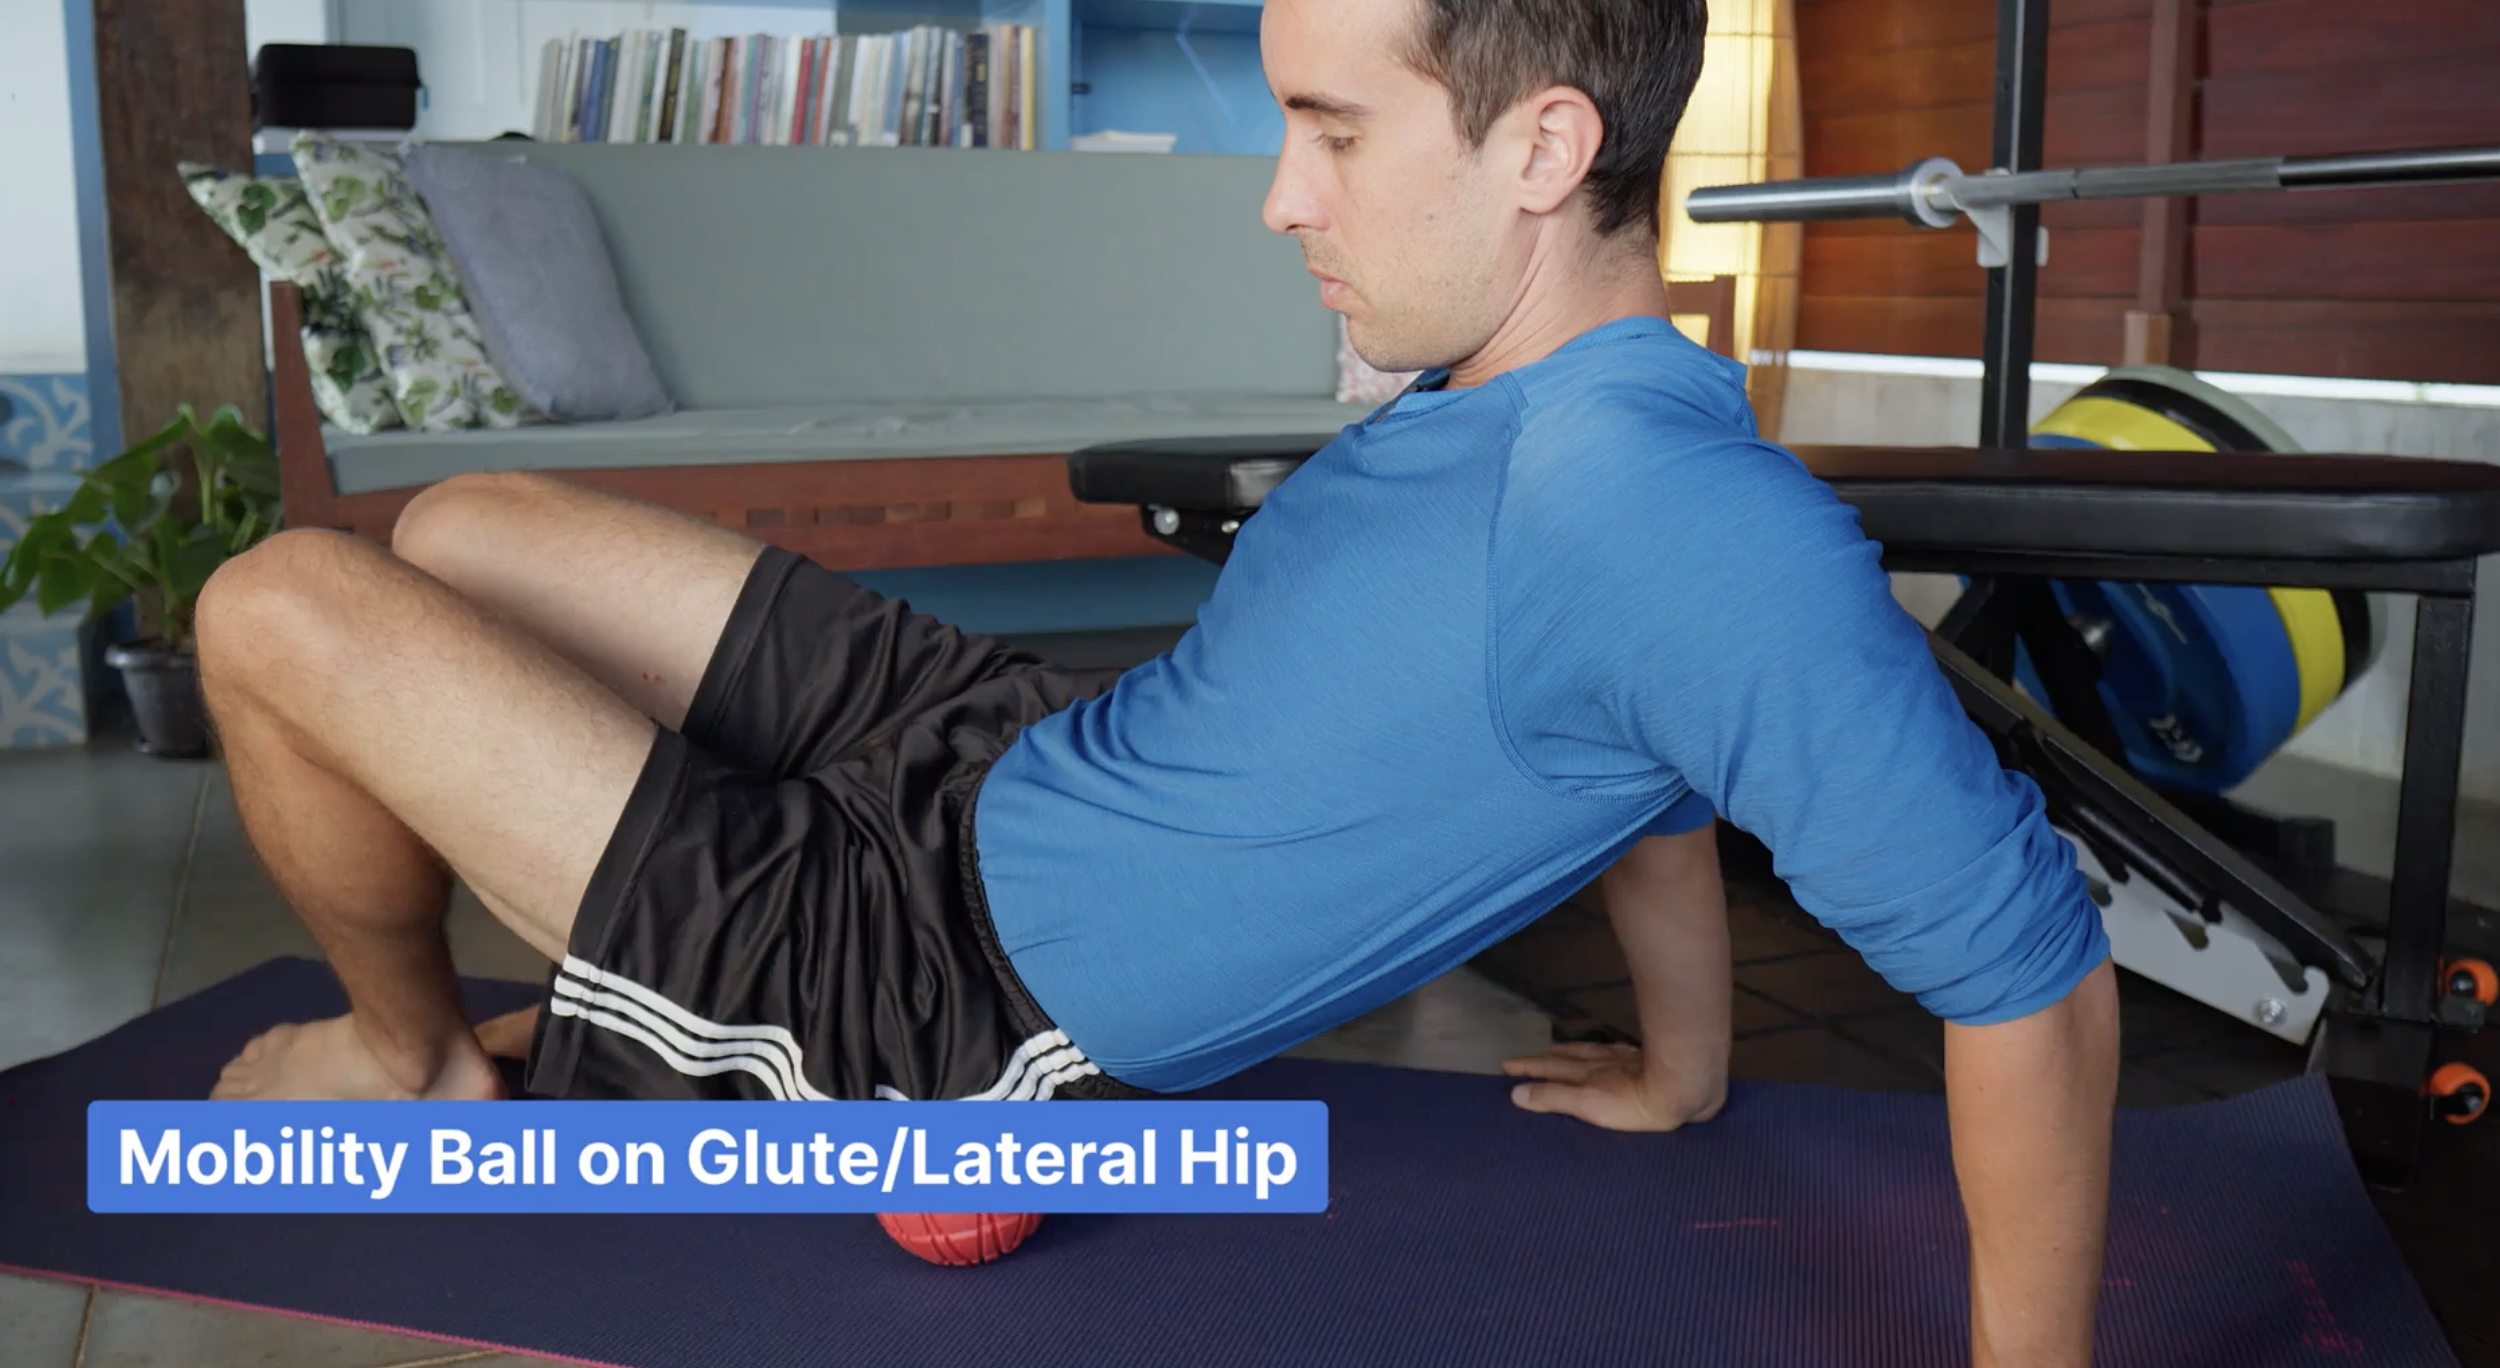
If I want to go deeper, I’ll use a more pointed tool to get into the deep hip rotators—the “rotator cuff” of the hip. Really helpful if you’ve got micro-instability or impingement.
Step 5: External Rotation Stretches
From there, I work on hip external rotation:
Reclined figure-four stretch – just checking in, gently bouncing and rotating.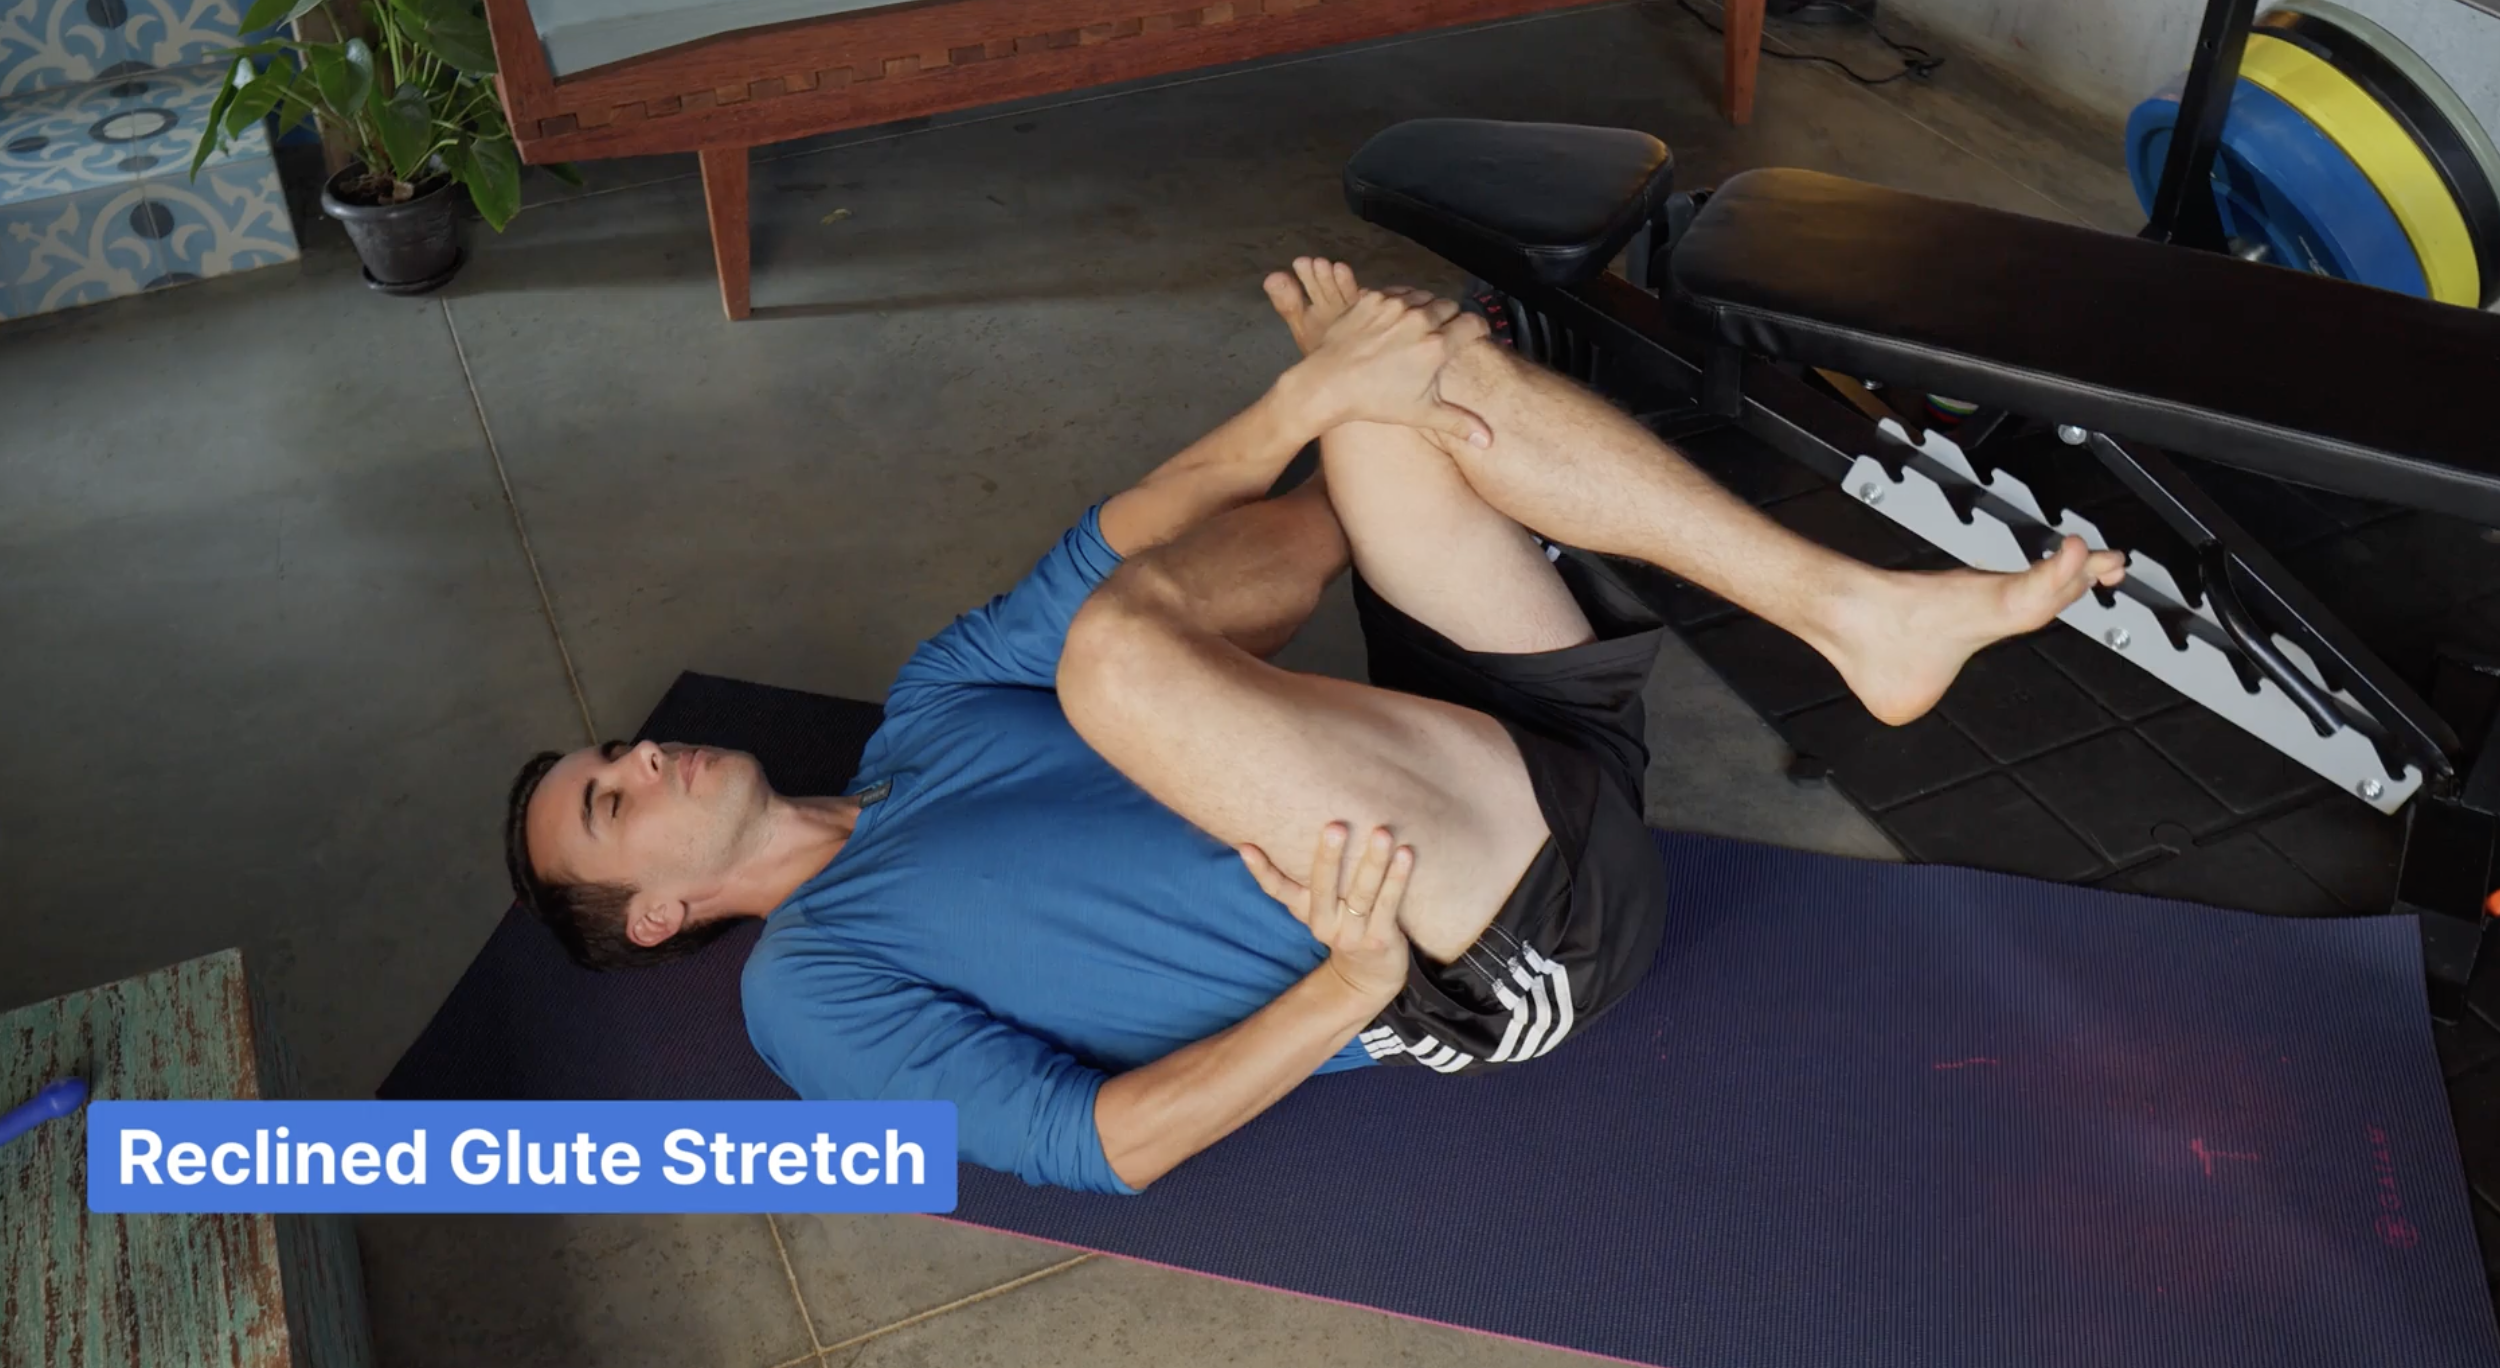
Fire log / double pigeon – a deeper version. I use my hands to guide the stretch and keep my feet active to protect the knees.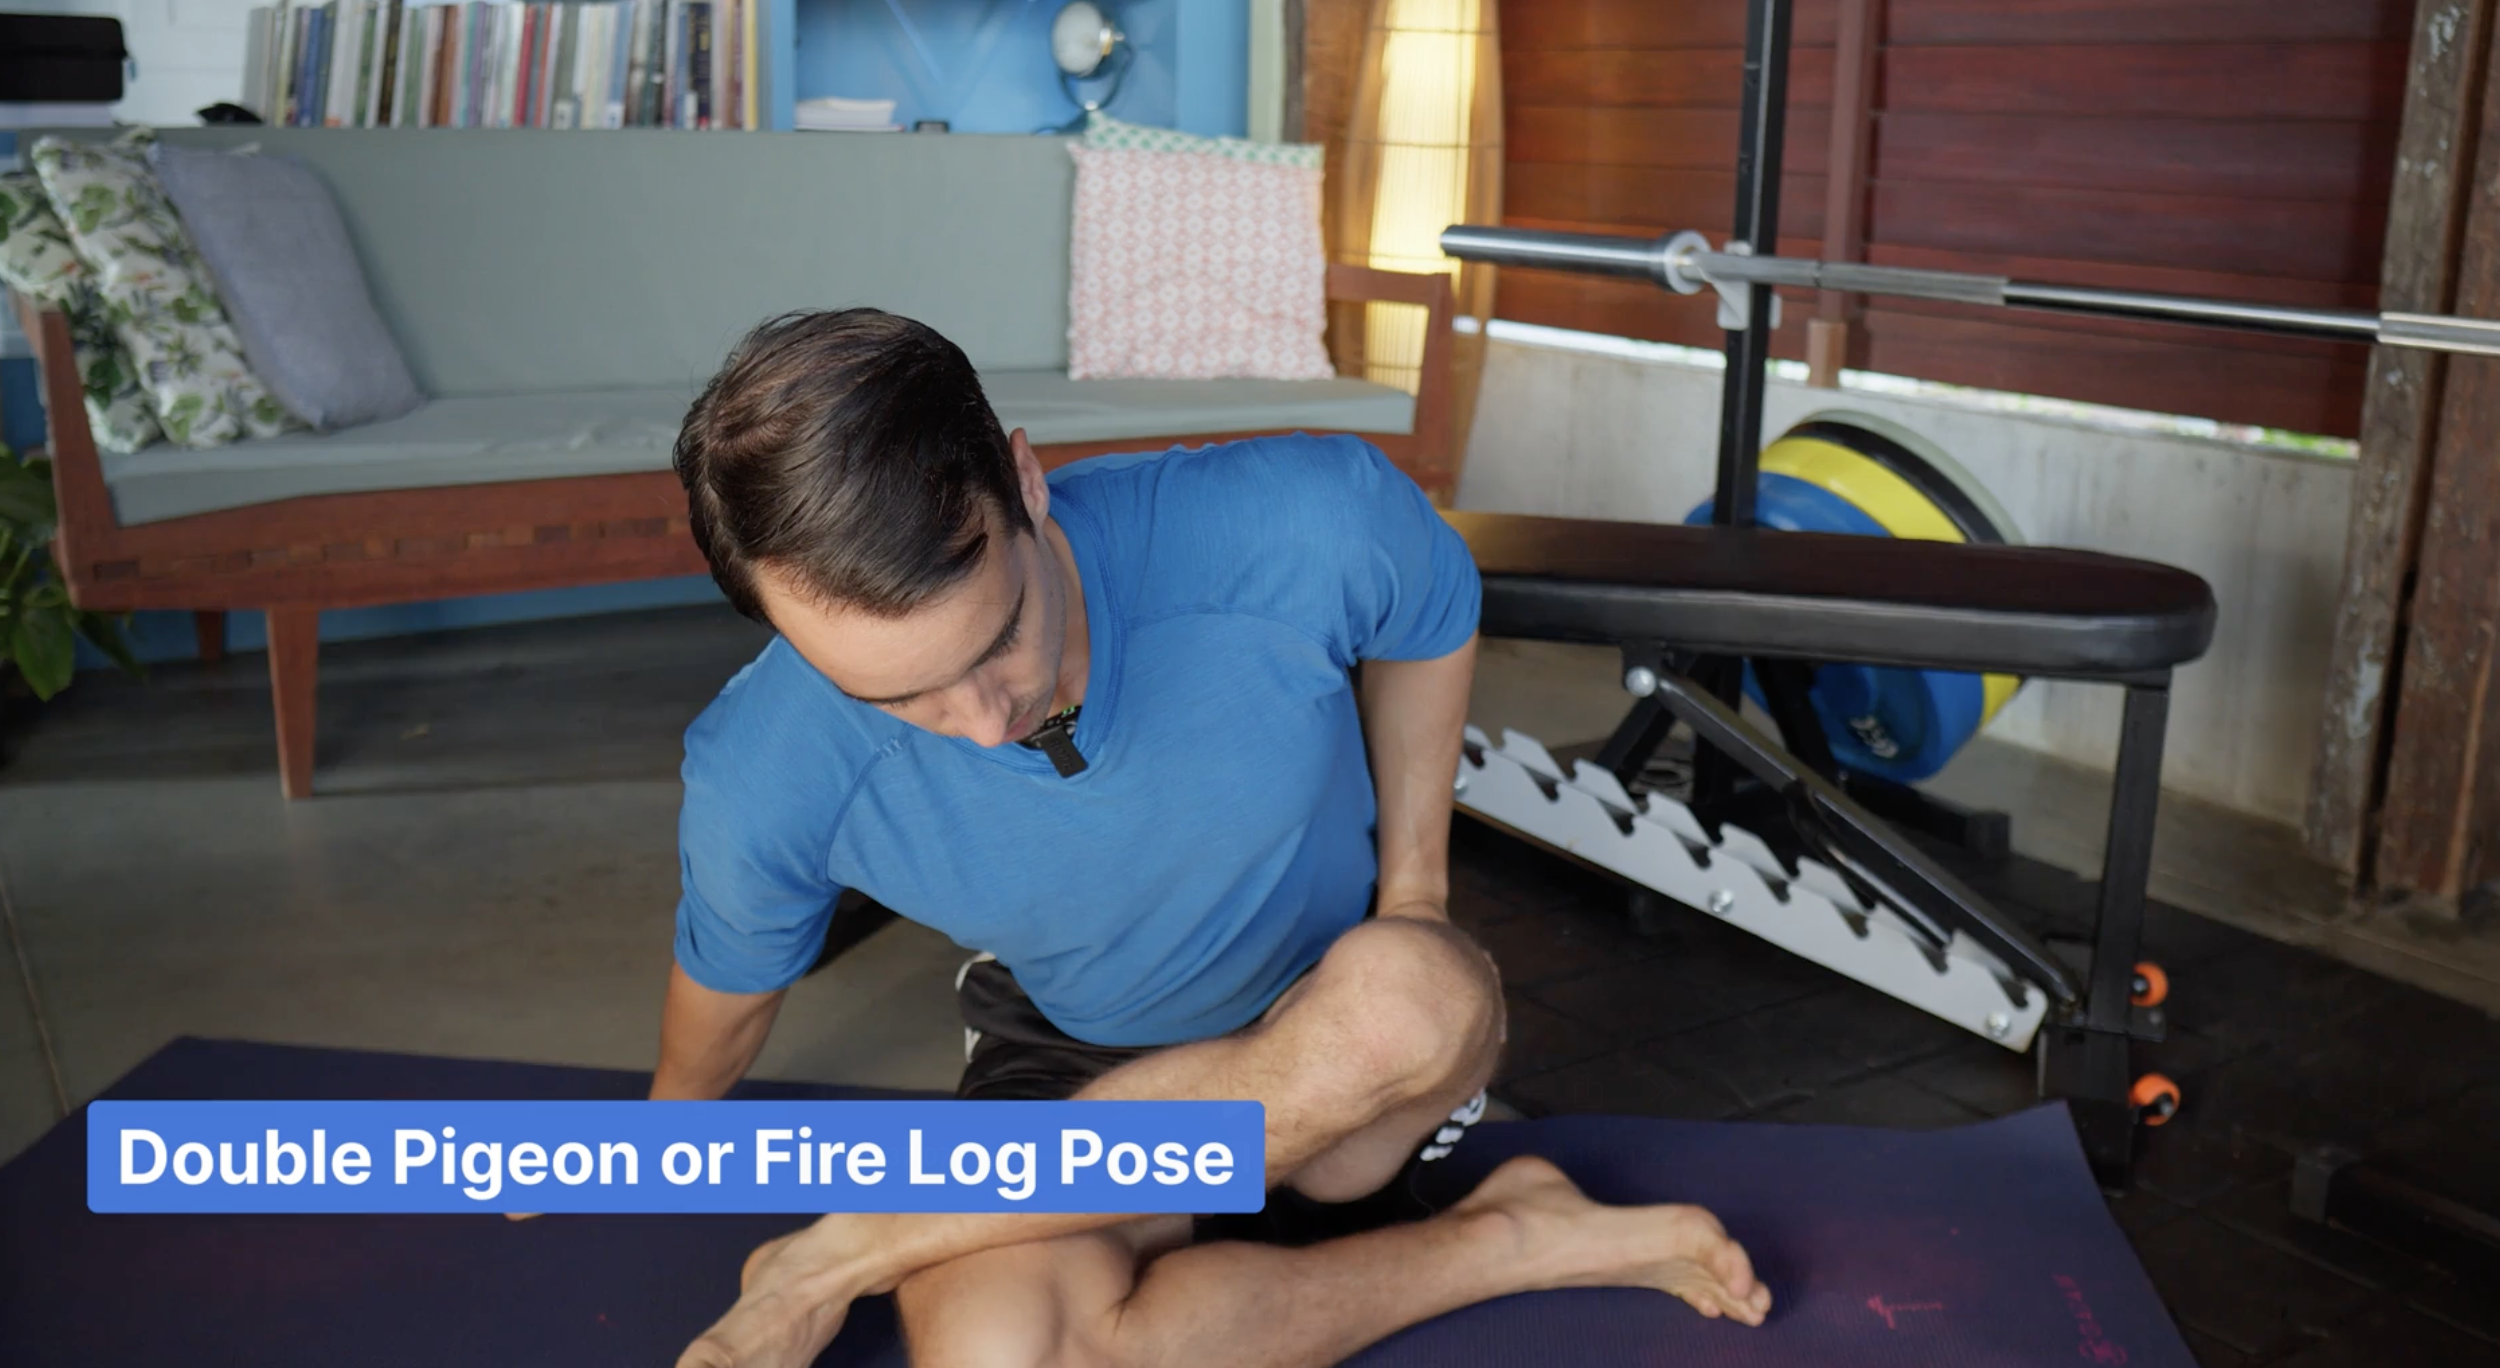
I don’t force anything—just light oscillations and relaxed breathing.
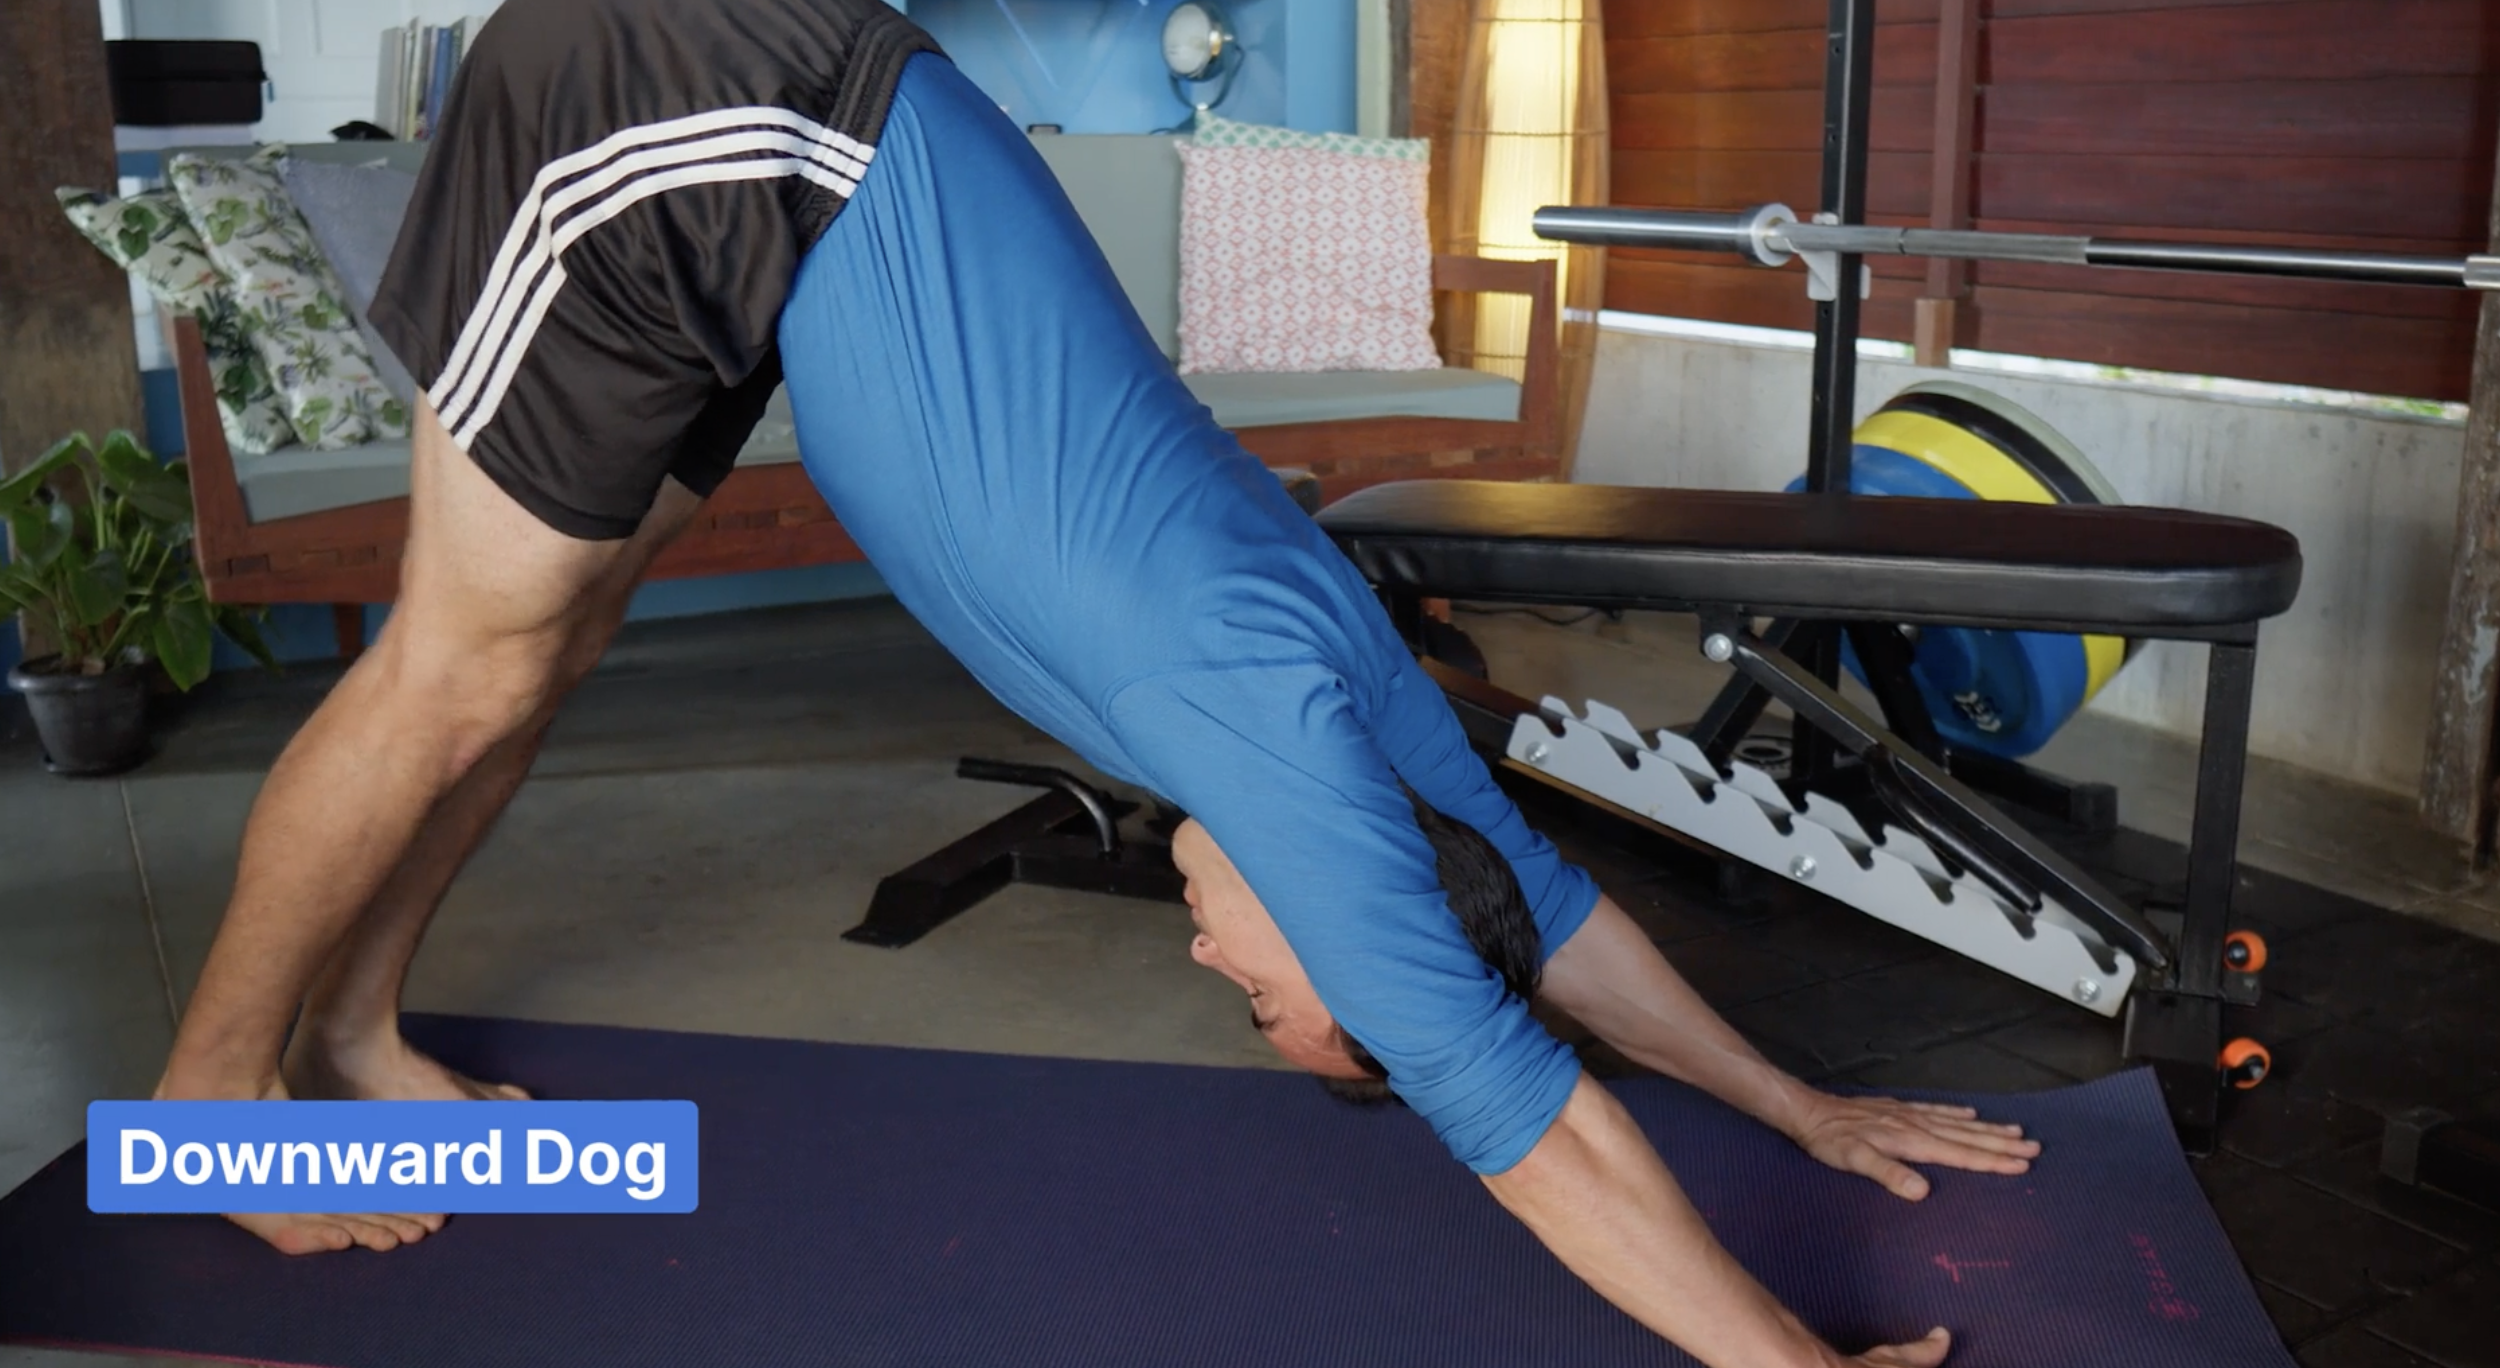
Step 6: Hamstrings, Adductors, and Squat Positions
Now I flow through a few classic moves:
Downward dog → pedal the feet, check hamstrings and calves
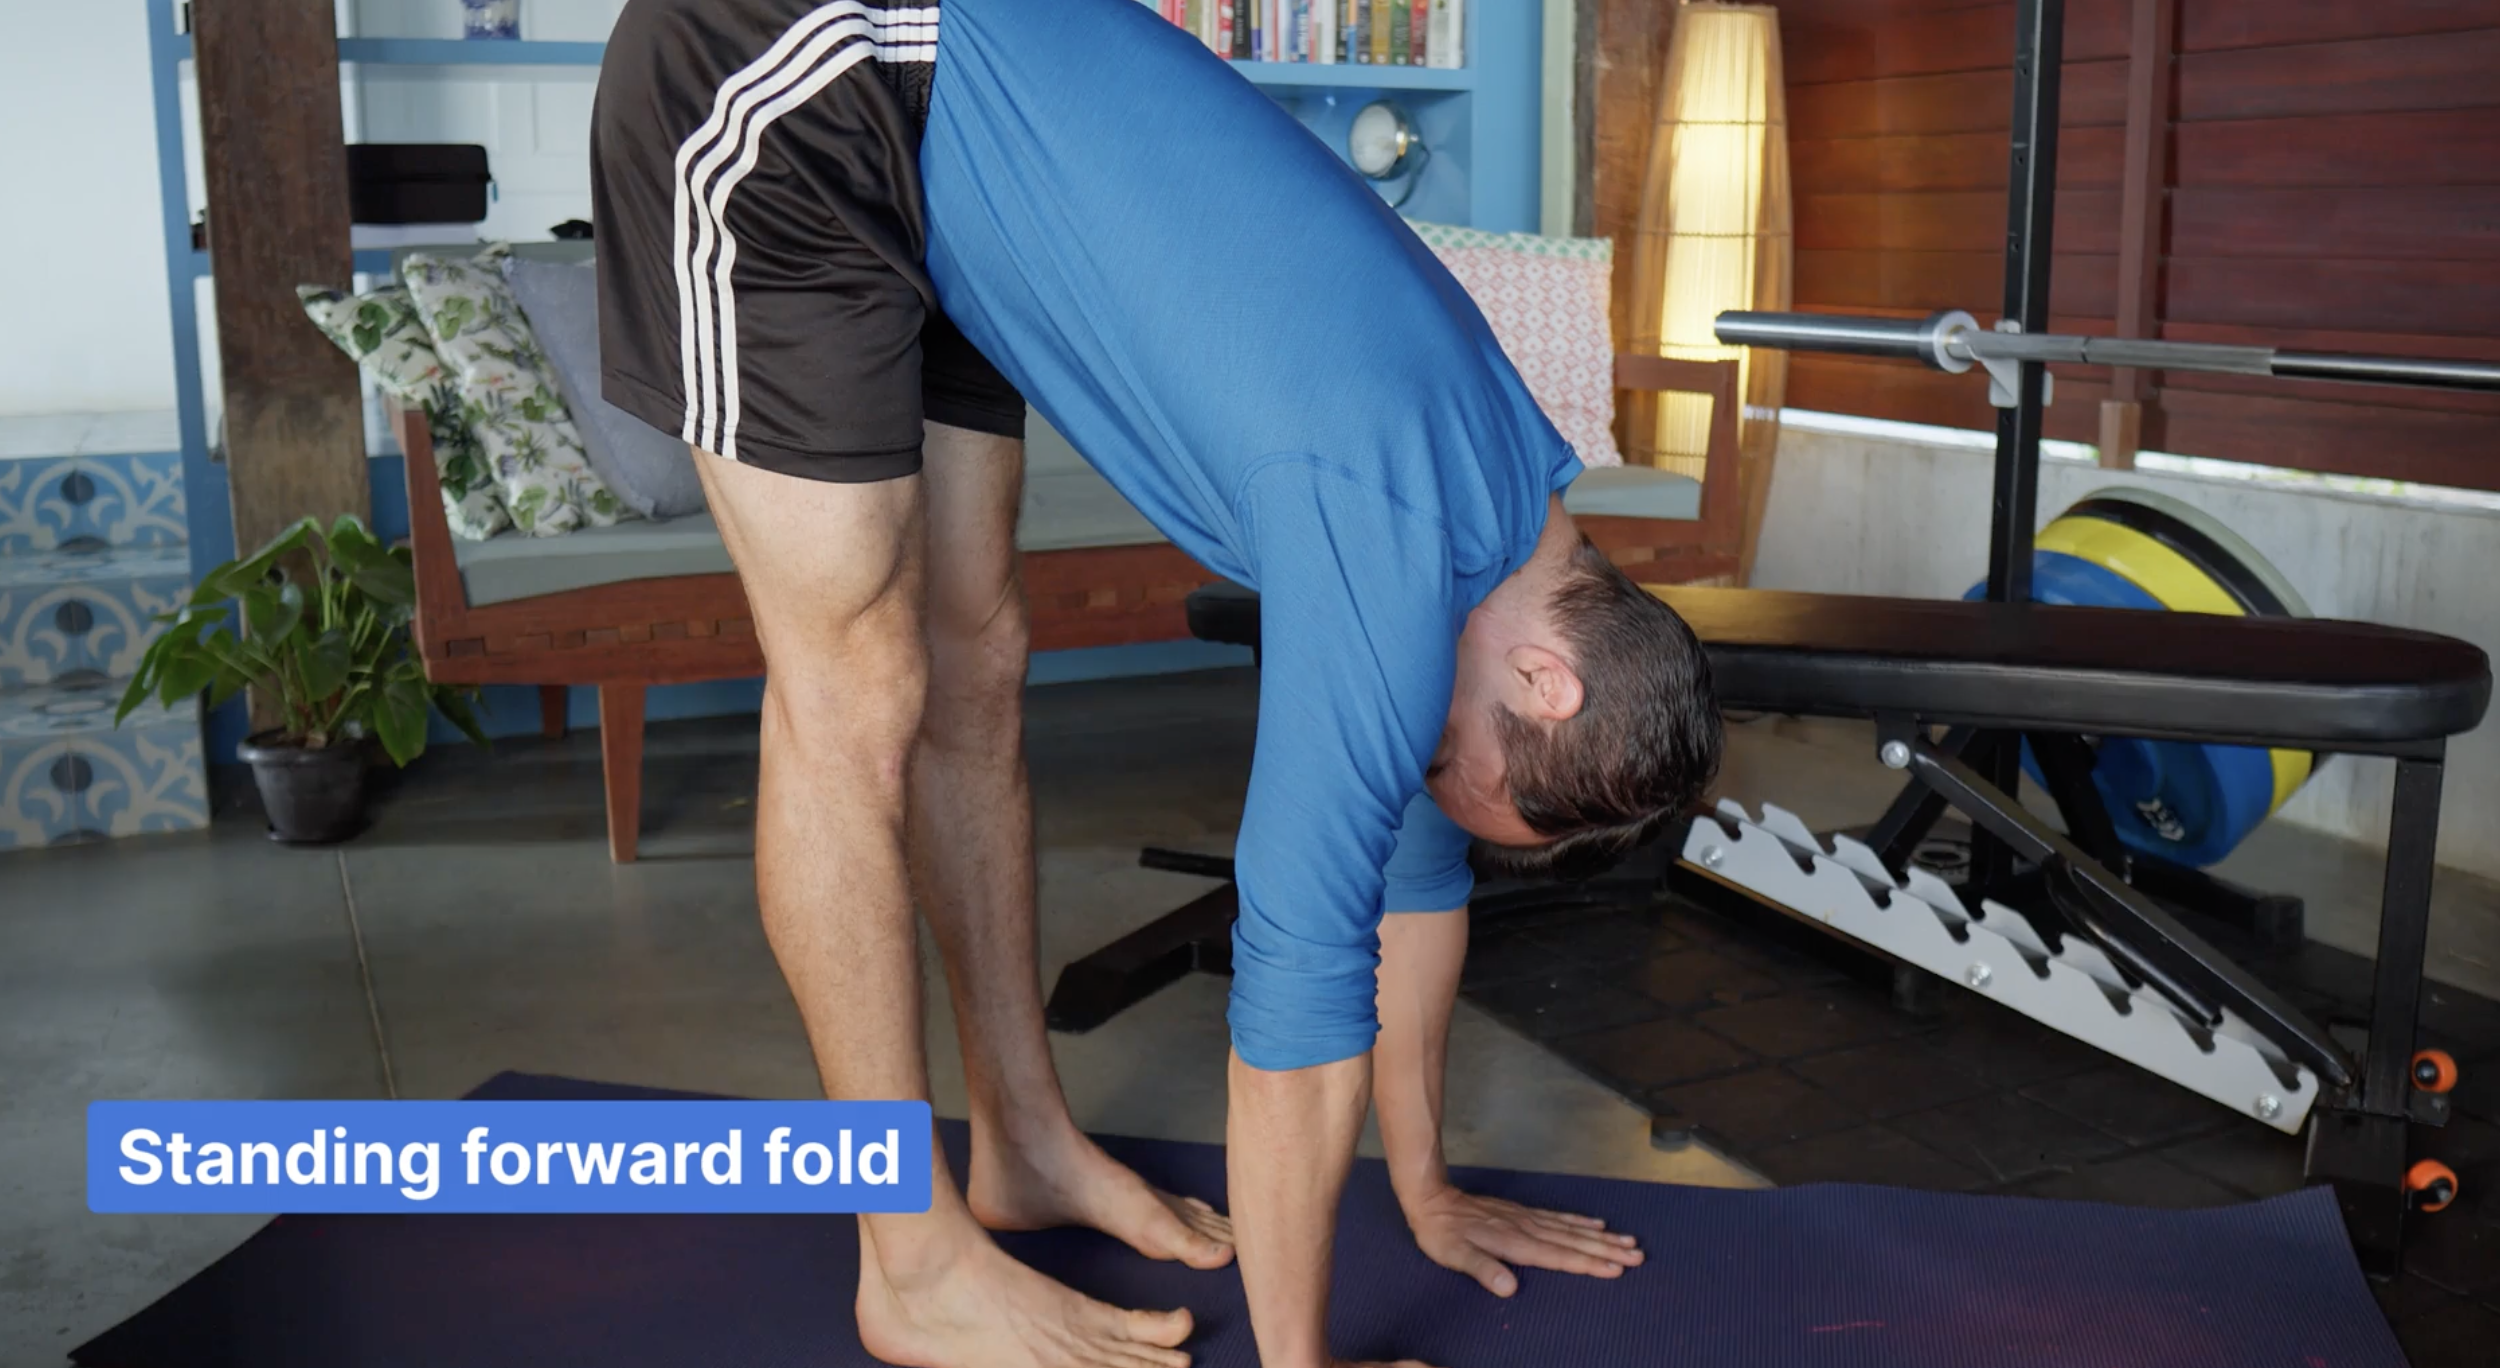
Forward fold → feel straight-leg hip flexion
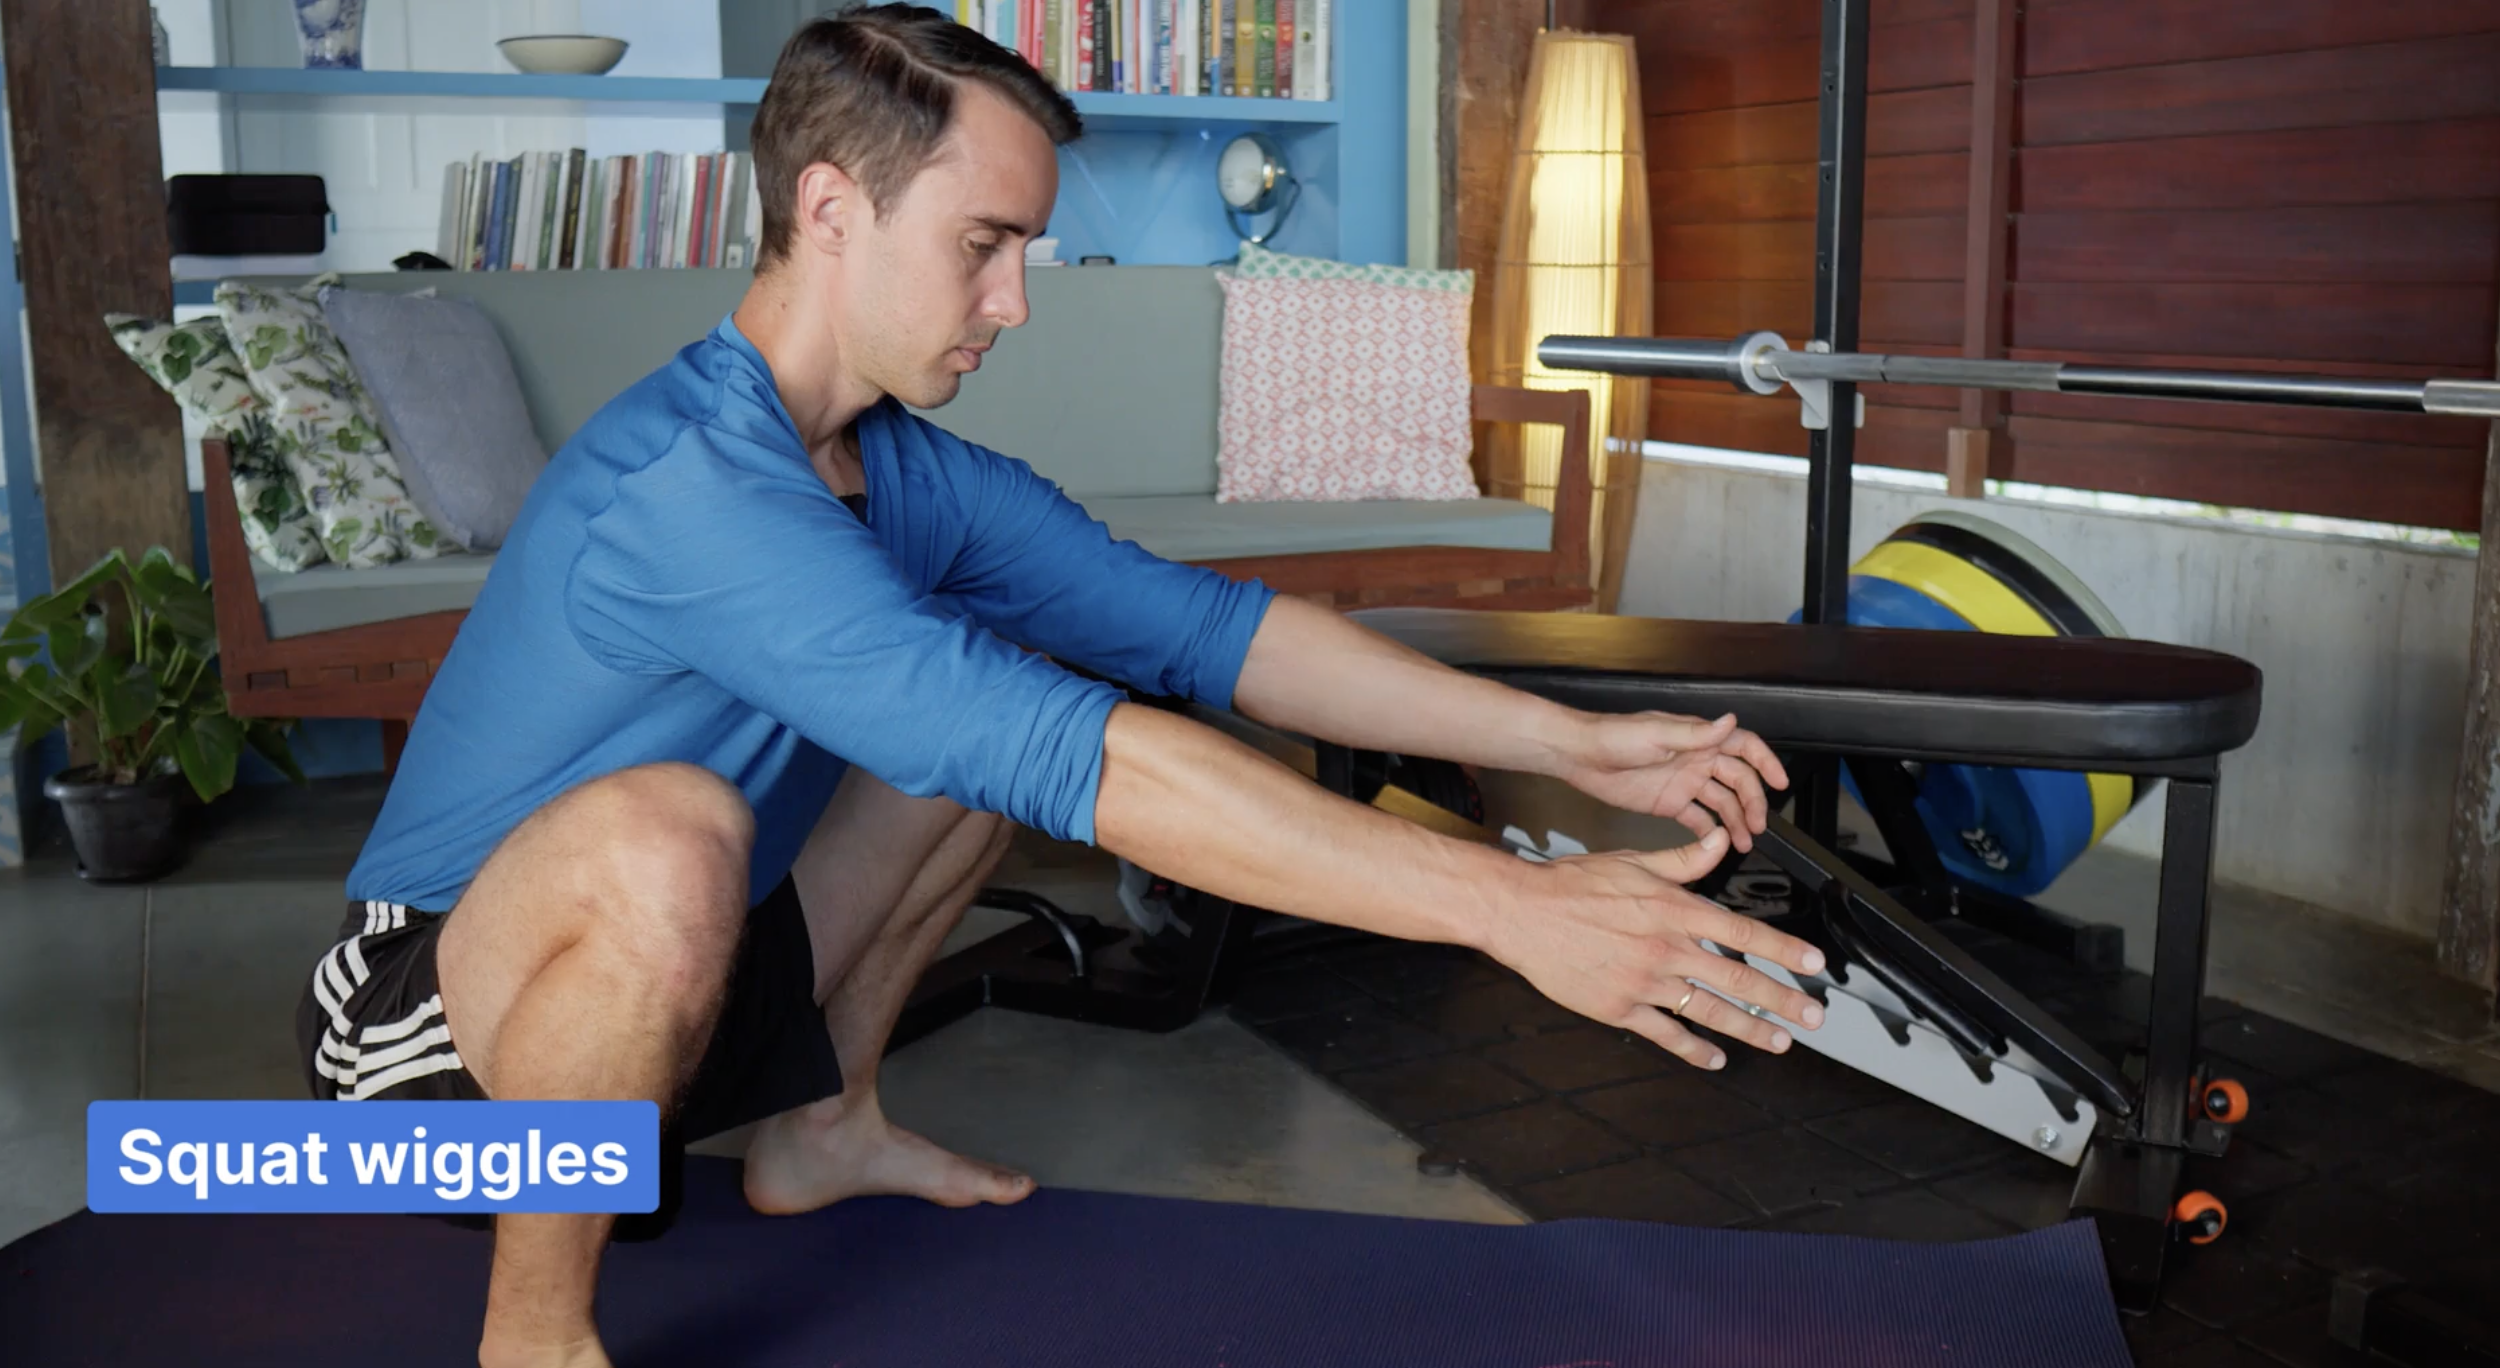
Wider stance squat → see how the ankles, hips, and knees feel
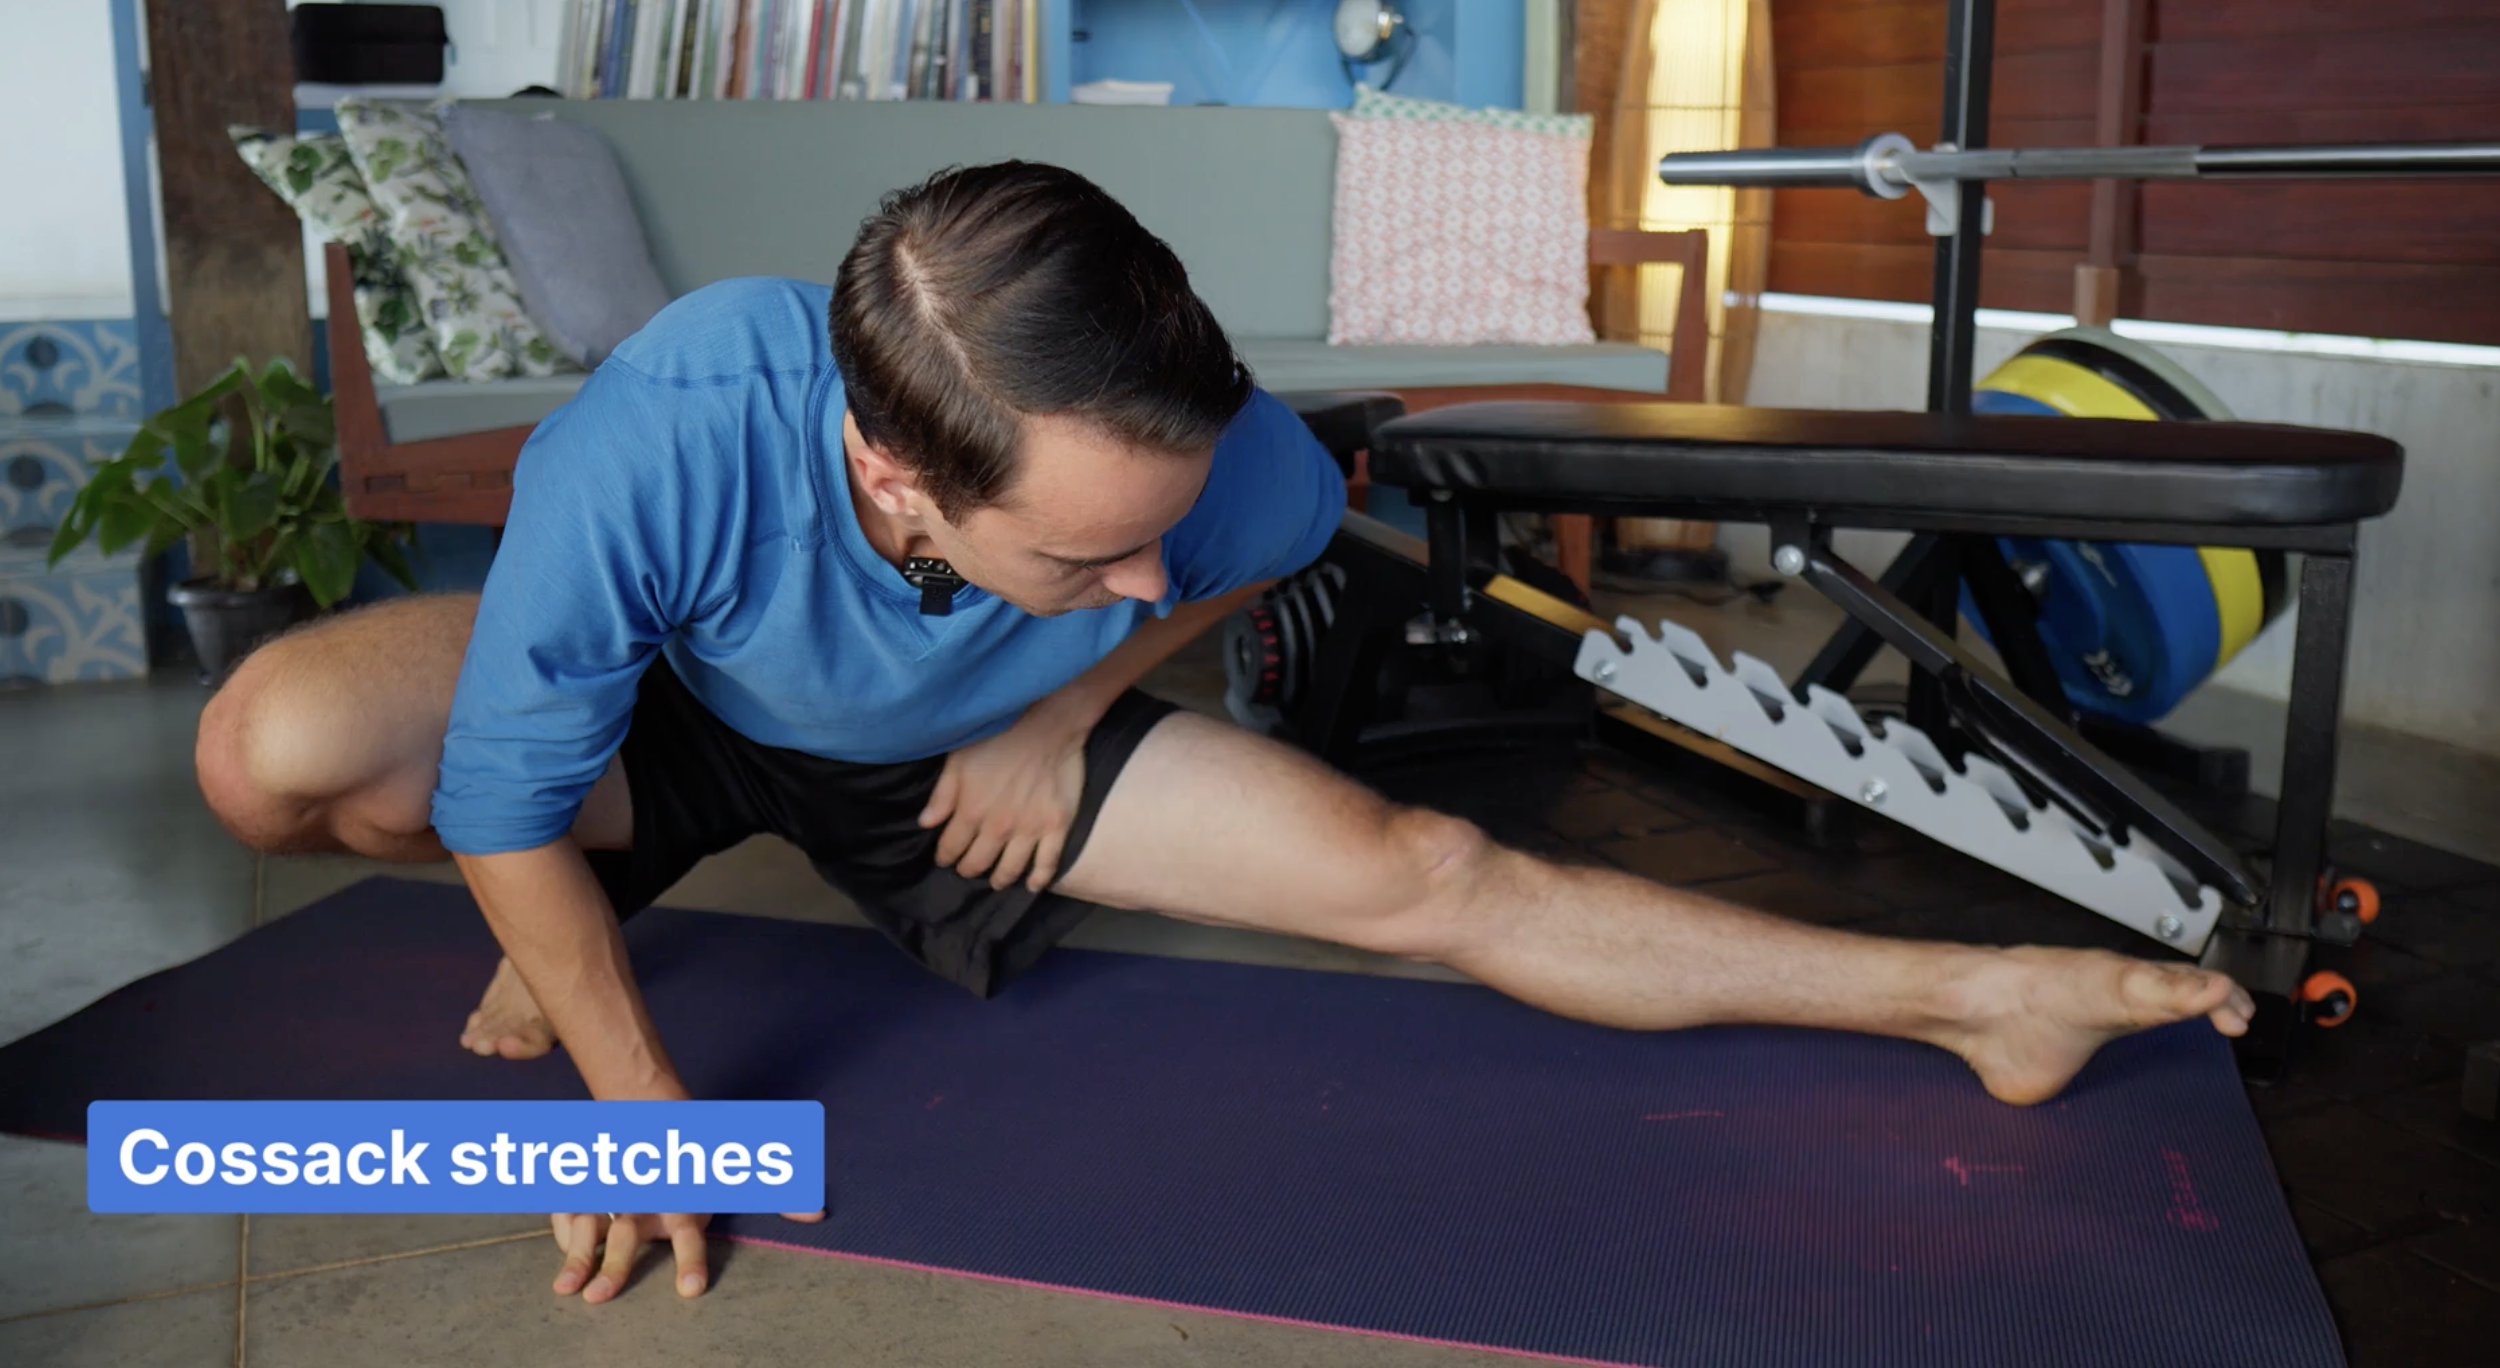
I also throw in some light Cossack-style side-to-side stretching to hit the adductors and different parts of the hamstrings. Nothing crazy long or intense—just limbering up.
Step 7: Active Hip Flexor Stretch
Then it’s time to prep hip extension for sprinting. I go into a half-kneeling hip flexor stretch and:
- Tuck my pelvis (posterior tilt)
- Squeeze the glute of the back leg
- Keep my core on so I’m not just arching my low back
- Reach up and add a side bend to get into the psoas and lateral line
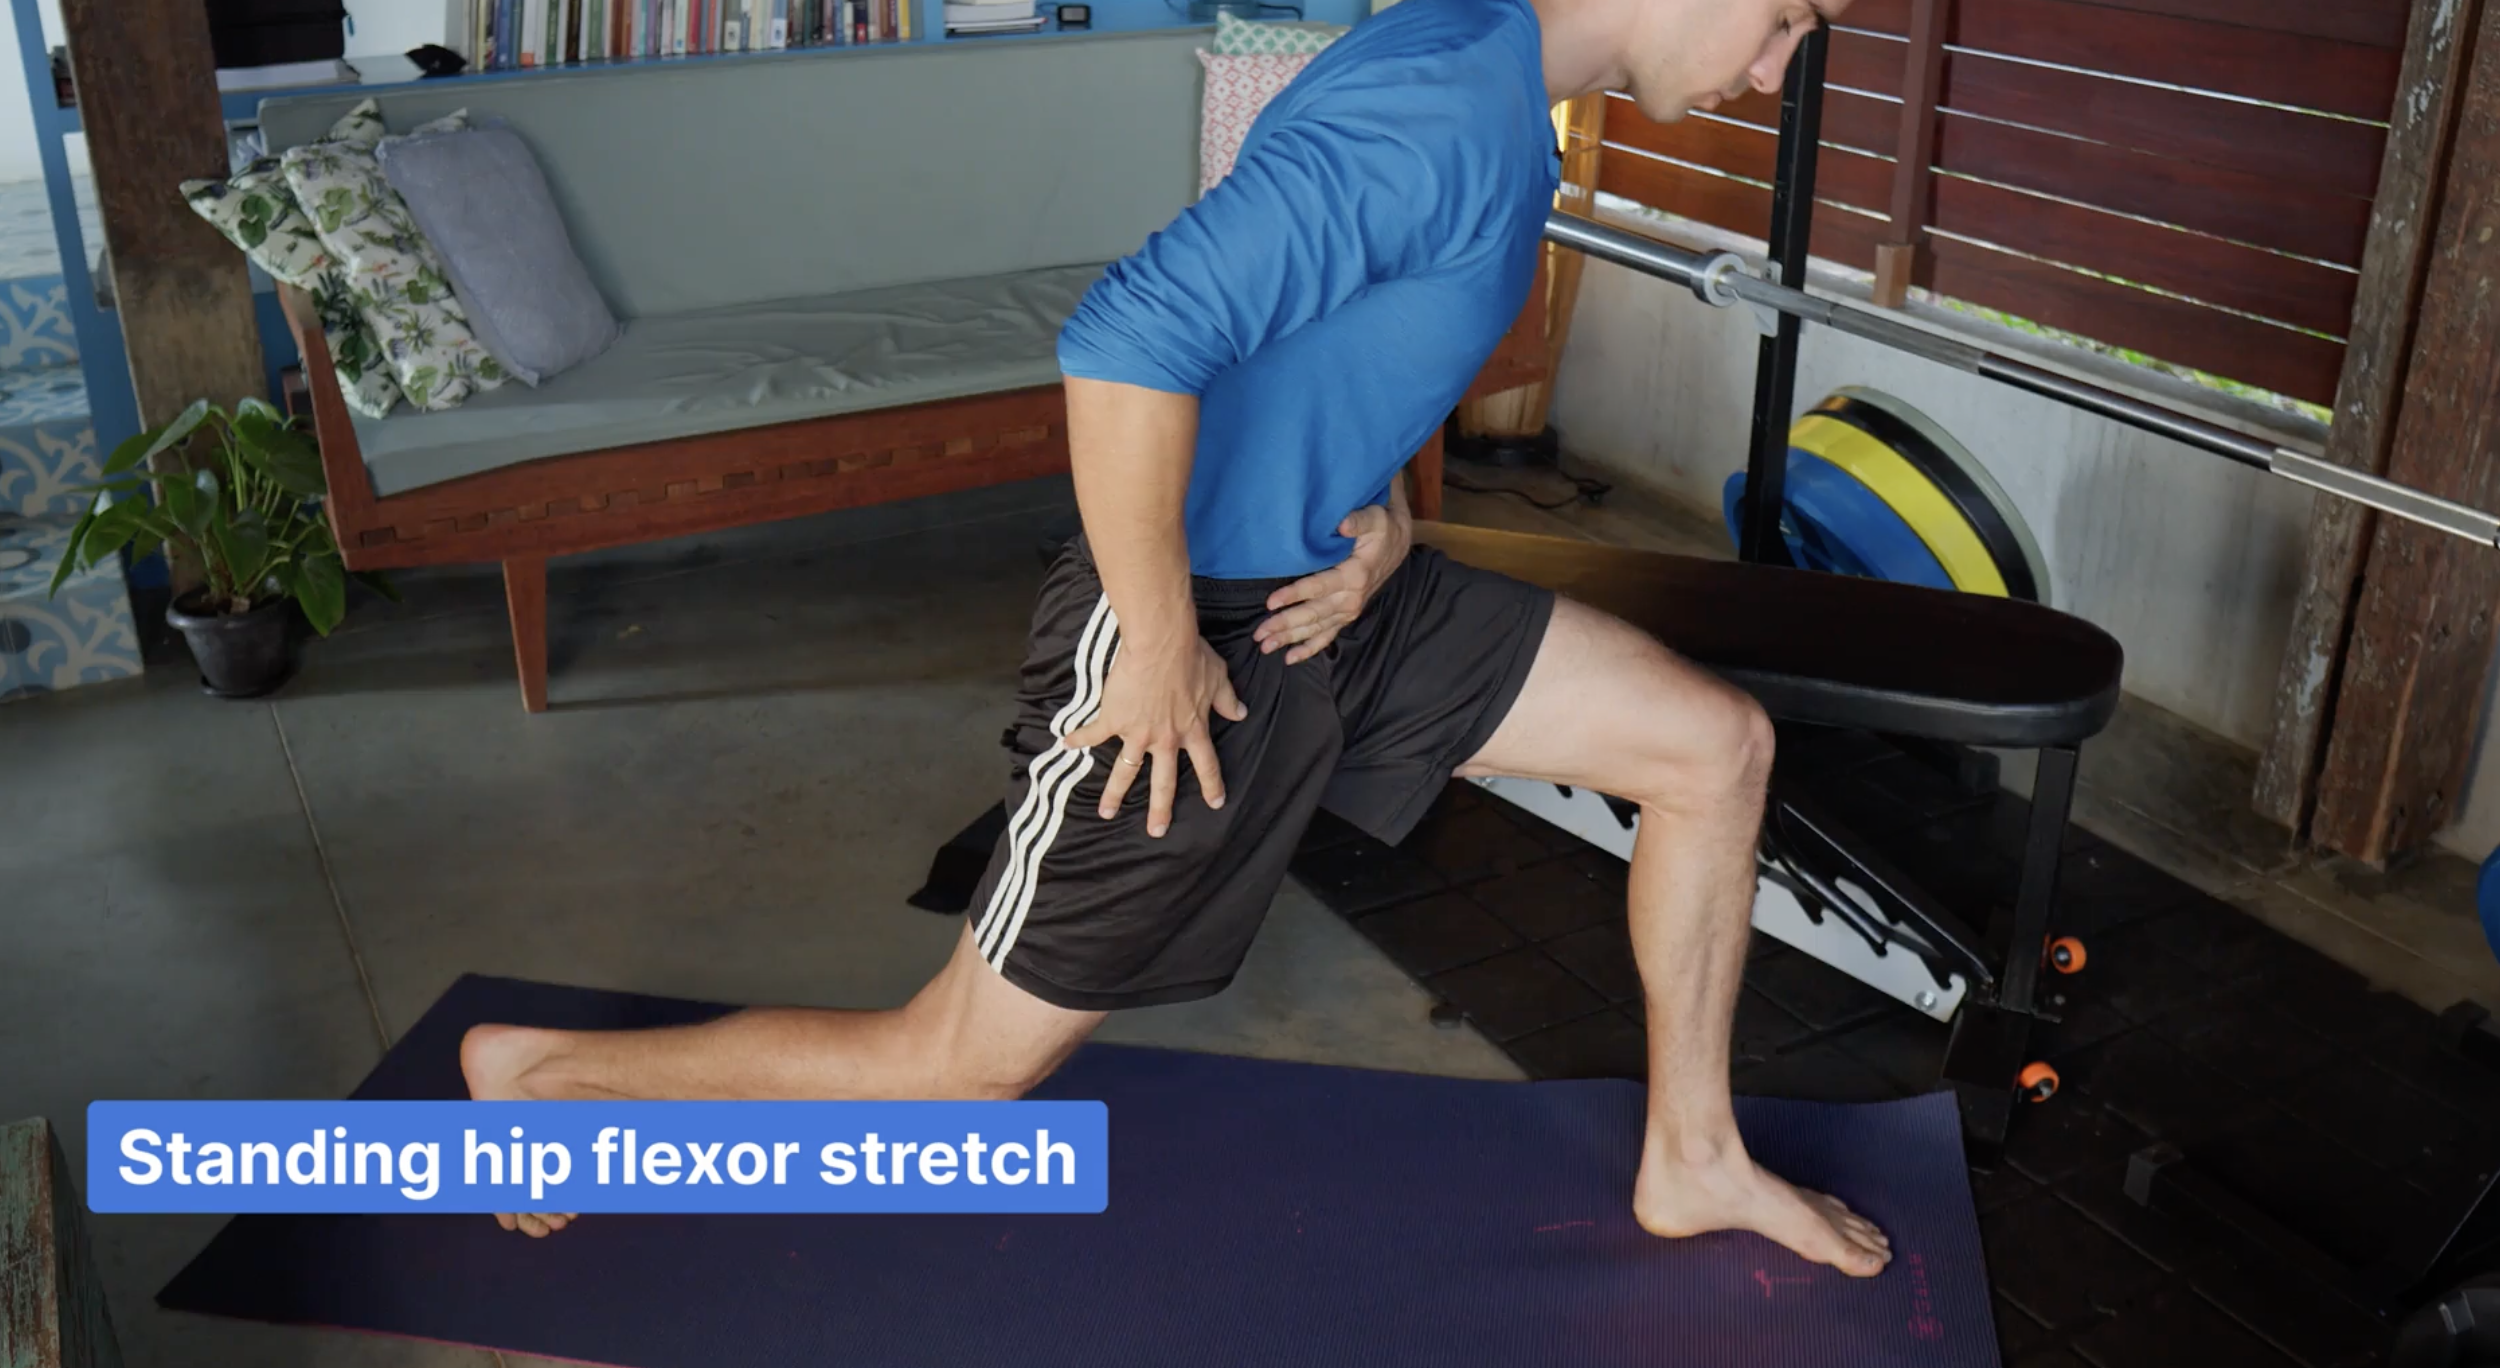
I repeat this on both sides with little pulses instead of long, passive holds.
Step 8: Side Body & Oblique Work
Sport isn’t just forward and backward. There’s twisting, bending, reaching, and falling in weird directions. So I add some side body stretches:
- Reaching overhead
- Letting the side body curve like a rainbow
- Exploring side bends and rotation
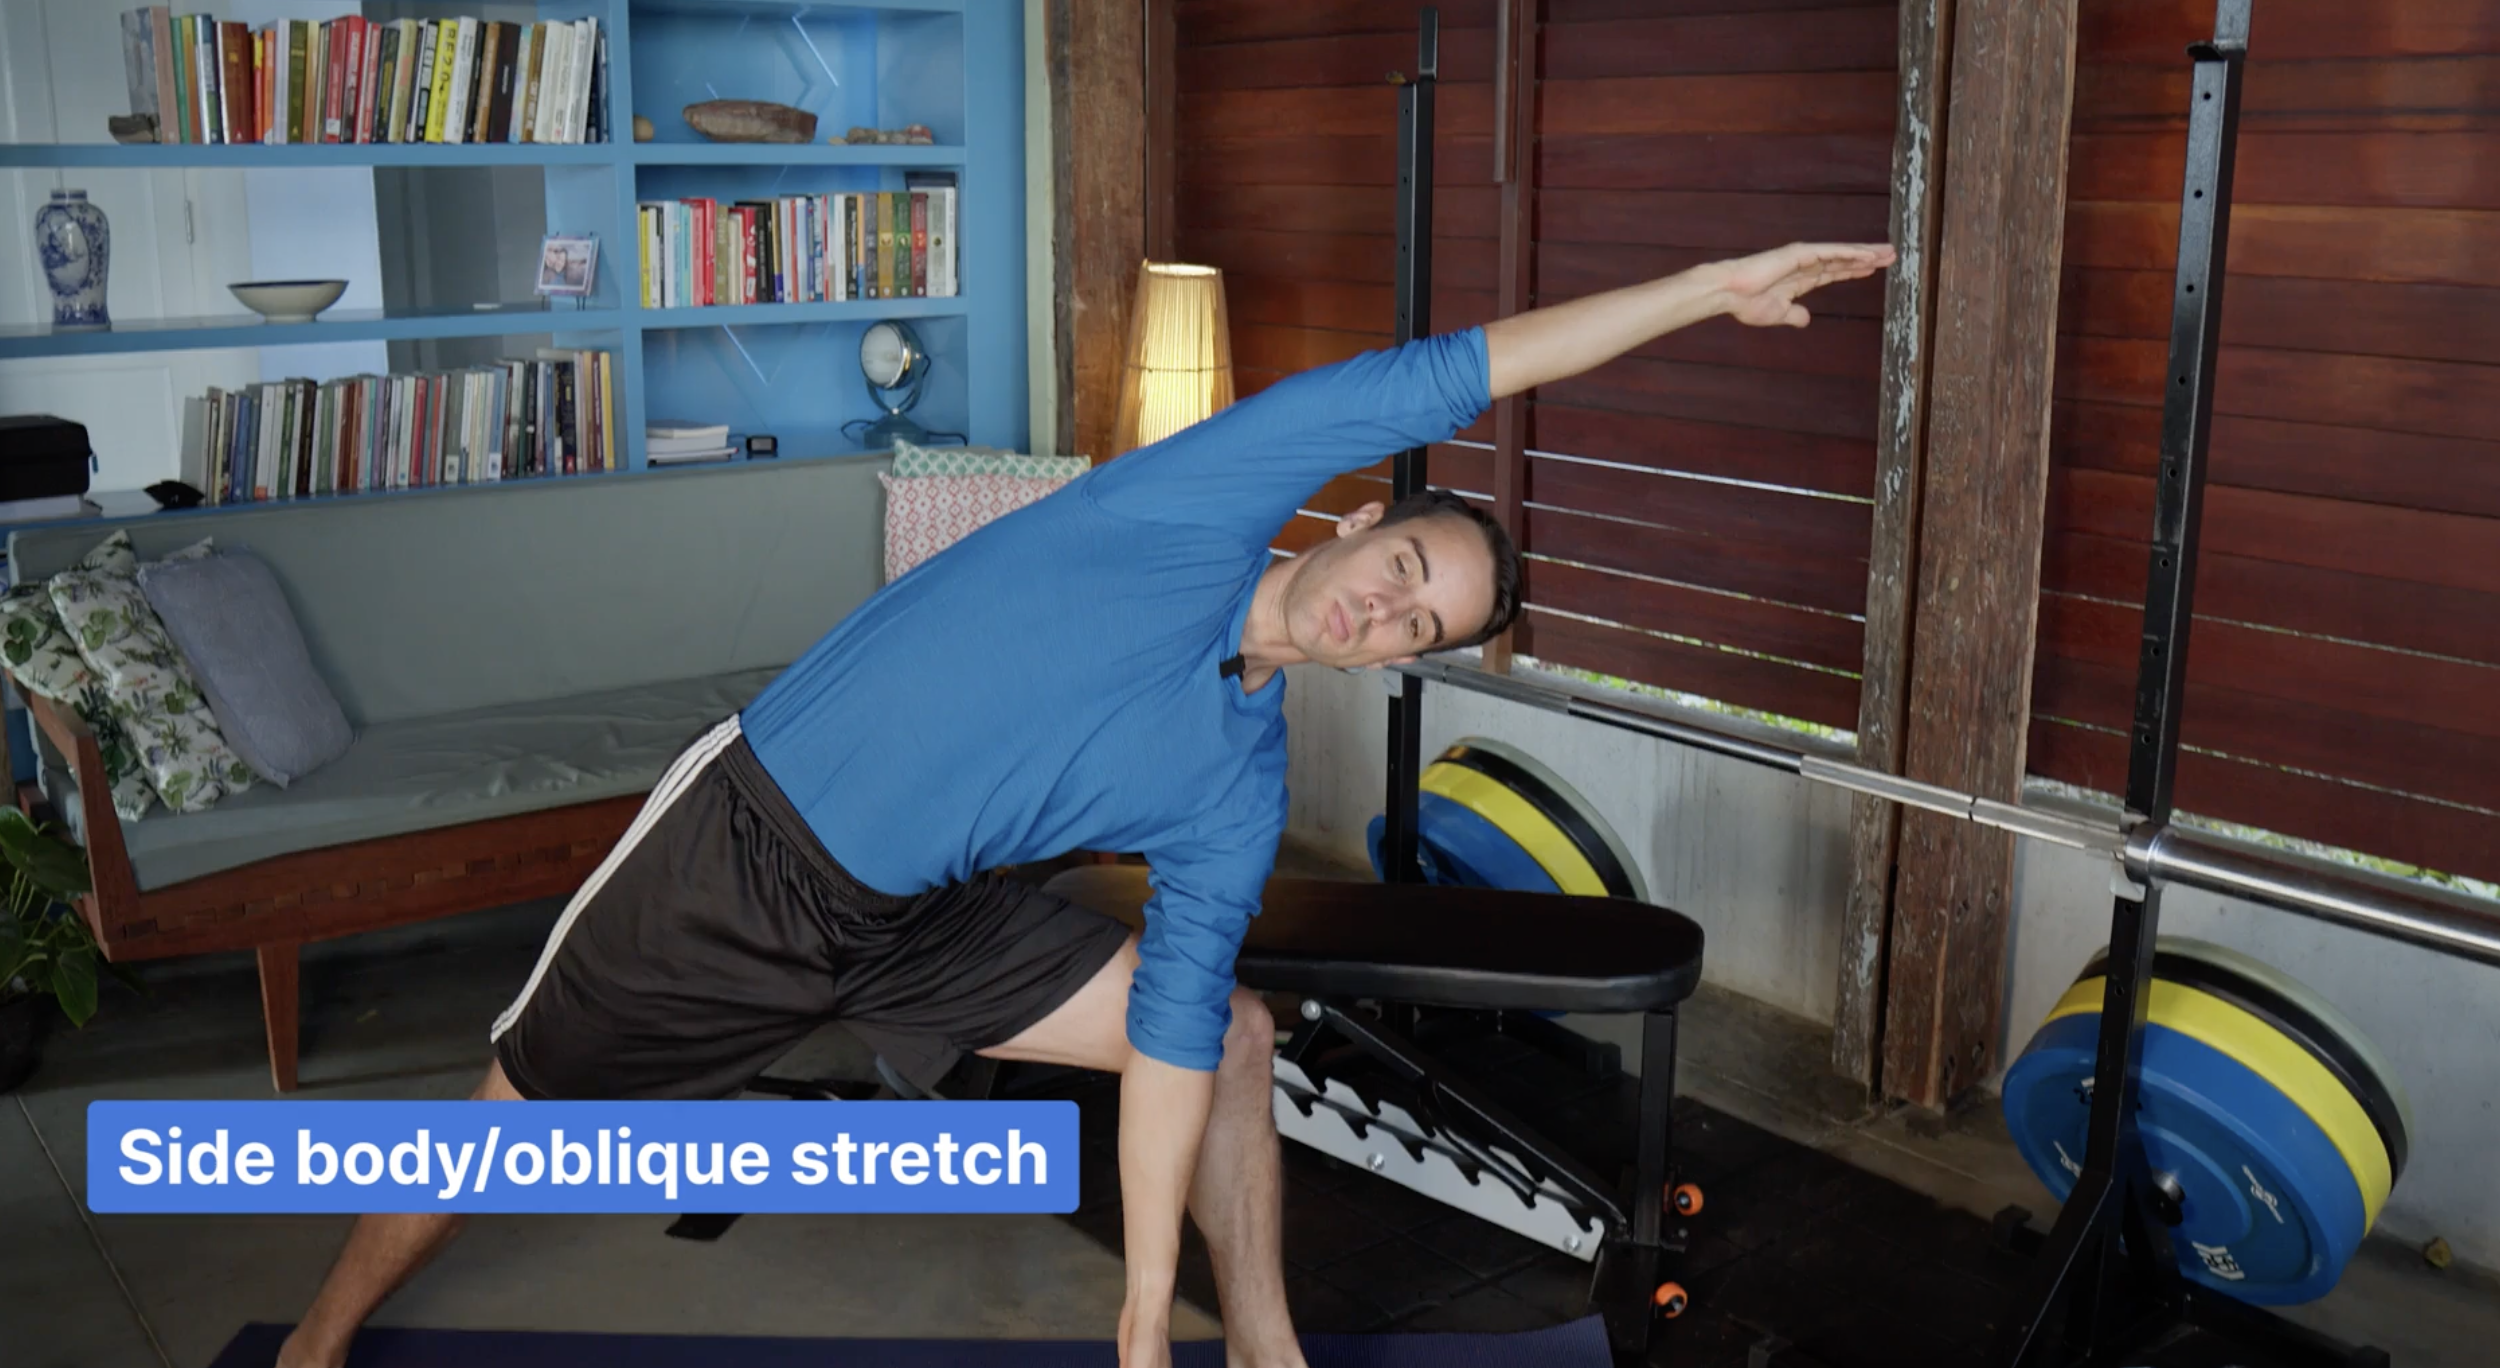
This helps me feel more open for all the “chaos” of a real game—diving for a frisbee, cutting around someone, twisting mid-air, etc.
Step 9: Upper Back & Lats for Throwing Power
Finally, I prep the upper body, because throwing a frisbee (or baseball, or anything) takes a lot of thoracic rotation. 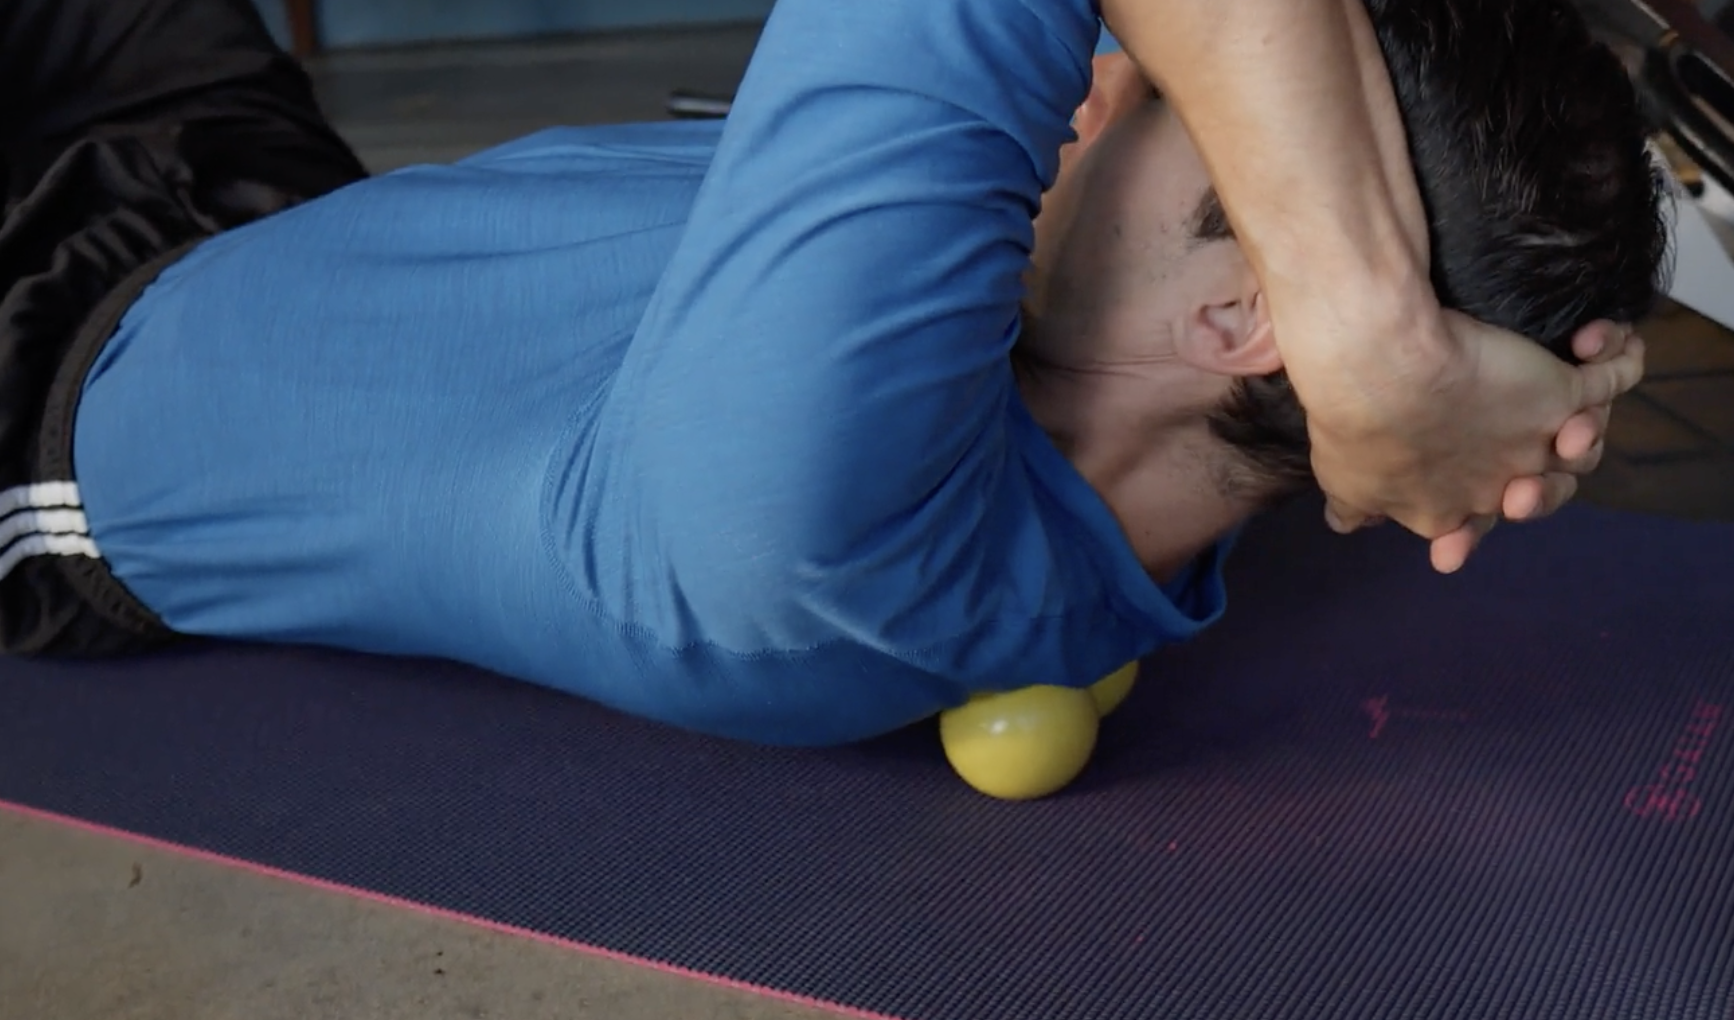
- Put two lacrosse balls under my upper back and roll between the shoulder blades
- Work into the lats and side body in different arm positions
- Use a twisting drill where I hook my thumb behind my knee, tuck my pelvis, and rotate through the upper spine
The goal: feel the twist in my thoracic spine, not in my low back.
And Then… I’m Ready to Play
By the end of this 10–15 minute session, my:
- Hips feel loose and unlocked
- Spine feels mobile
- Body feels symmetrical and responsive
From there, I go into a more traditional active warm-up (jogging, shuffles, accelerations, etc.). But this tissue prep is what lets me sprint, cut, and jump without feeling like my hips are fighting me the whole time.
If you’ve got FAI, hip impingement, or a labral tear and you still want to play the sports you love, a routine like this can be a huge difference-maker.
I hope this blog and the free routines were helpful. If you got value, please like, share and subscribe. And as always, please remember, you’re just one step away from building (or rebuilding) your perfect body.
About The Author

Shane Dowd, CES, CMP is the owner/founder of GotROM.com. He is also a sports performance & mobility coach specializing in injury prevention and flexibility for athletes.


